


AI Summary
Is your Divi form not sending email from your website? If you aren’t getting messages from your contact form, you might miss out on important messages from visitors or clients.
The truth is, Divi’s built-in contact forms don’t send emails the same way most mail servers expect. That’s why they often get blocked or go missing.
But don’t worry, this is fixable. In this guide, I’ll walk you through the exact steps I’ve used to fix issues with forms you create in the Divi builder.
Why Is My Divi Contact Form Not Working?
Your Divi theme contact form likely isn’t working because the emails are going to spam. This is a common problem with all contact form plugins.
By default, WordPress uses the wp_mail() function, which uses PHP to send emails from your website. This means your web hosting server sends the email.
That’s not ideal because the emails aren’t authenticated, which can lead to your messages being filed in the Junk Mail folder. Gmail and Yahoo now require authenticated domains to deliver messages reliably.
Another possible reason is that the Divi contact form isn’t configured properly. Let’s take a look at the settings so we can fix the problem and get your form working.
How To Fix Divi Form Not Sending Email
Step 1: Check Divi Contact Form Settings
The Divi contact form module is very basic, but there are still a few options we need to check. To start, open the page that has the contact form and click Edit With Divi.

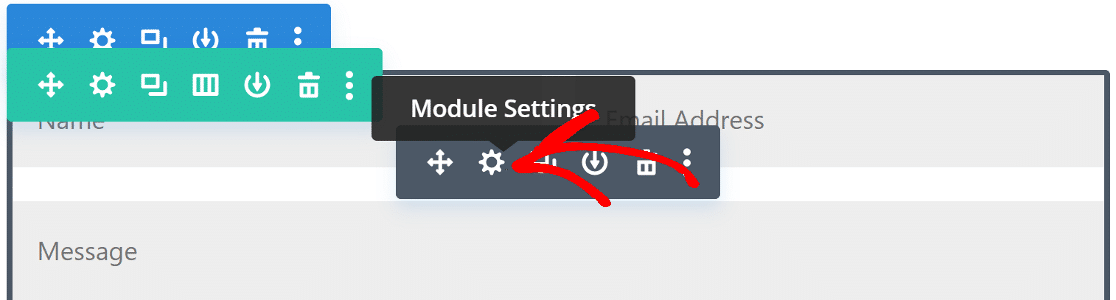
Click anywhere on the contact form and then click the gear icon to open the Divi contact form email settings.
In the content tab, scroll down to the Email option and expand it. Here, type in the email address where you want to receive your contact form notifications.

Next, scroll down to the Spam Protection settings and expand it. To prevent Divi contact form spam, you can use Google reCAPTCHA.
But it’s possible your spam sensitivity is a little high, which may be causing emails to be blocked. You can try decreasing the Minimum Score if your Divi form is not working.

If your Divi email form still gives trouble, check whether the form is saving submissions and whether any part of the form is breaking the layout.
A missing email address, broken module, or plugin conflict may stop Divi from sending form data. Try creating a test form with only a few fields to check if that works first.
If this doesn’t fix the problem, we’ll need to install the WP Mail SMTP plugin. This replaces the default email sending method with a professional email provider.
Step 2: Install the WP Mail SMTP Plugin
Divi doesn’t come with built-in SMTP settings, so the best way to fix deliverability is to use a plugin like WP Mail SMTP, the best SMTP (Simple Mail Transfer Protocol) plugin for WordPress.
It improves email deliverability by connecting your website to an external email service, and it’s a proven solution for the Elegant Themes Divi contact form not working issue.
Apart from this, WP Mail SMTP also lets you:
- Log the emails sent from your WordPress site
- Track email opens and clicks
- Save email attachments
- Export your logs
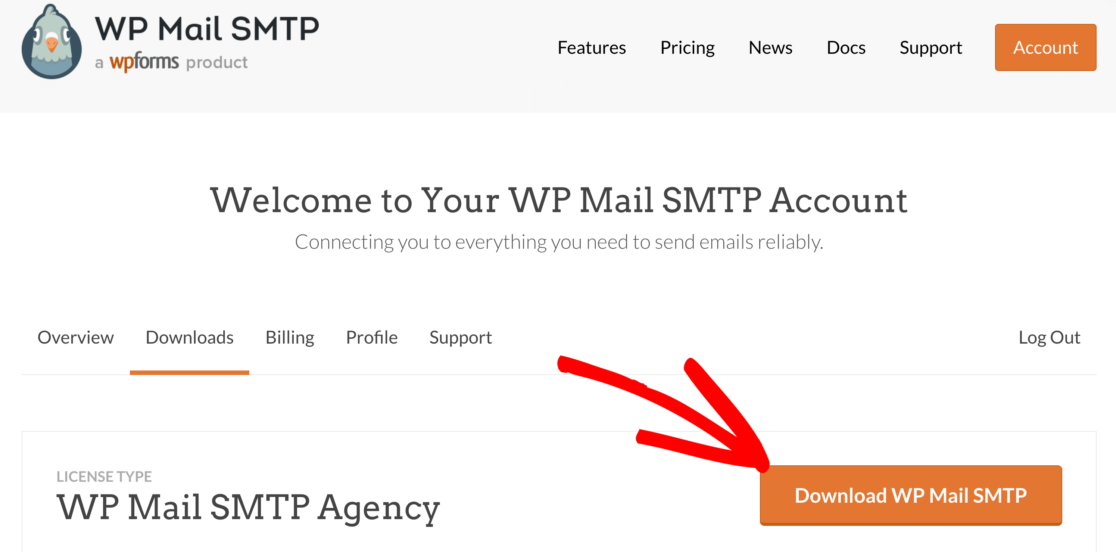
To start, go to your WP Mail SMTP account and click the Downloads tab. Click the orange Download button to download the latest version of the plugin.
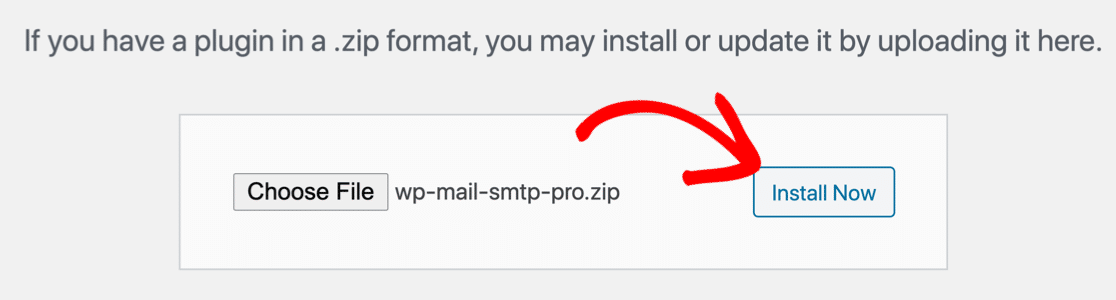
Next, open the WordPress dashboard and upload the zip file to your WordPress site. If you need help with this part, check out the step-by-step guide on how to install a WordPress plugin.
Make sure you Activate the plugin. As soon as you do, the Setup Wizard starts in your browser.
Need a hand?
Our Elite license includes White Glove Setup for SendLayer, SMTP.com, or Brevo (formerly Sendinblue).
Step 3: Choose a Reliable Mailer Service
In this step, we’ll choose an external mailer service to send emails from our website. This fixes the issue with Divi form not sending emails. To start the wizard, click the Let’s Get Started button.

Now it’s time to choose your new email provider from the list. I recommend SendLayer, SMTP.com, and Brevo because they’re reliable and easy to set up. They’re a great fit for small sites, as well as websites that send transactional emails.
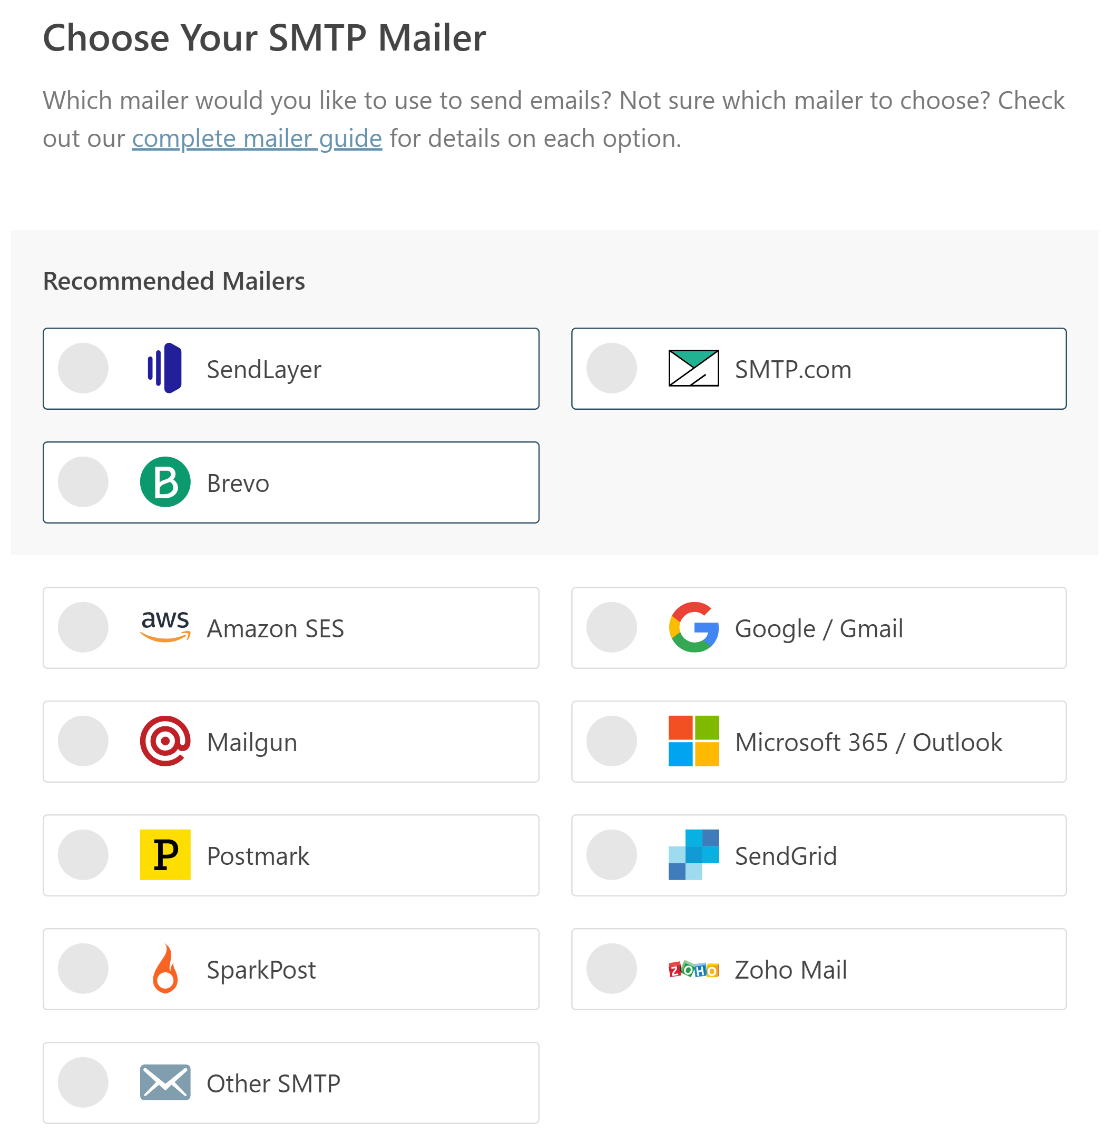
If you already have access to an SMTP server from your web hosting, you can use the Other SMTP option from the list to get that set up quickly.
Once you choose the mailer, open the documentation in a new tab. You can find detailed guides for each one in the table below:
| Mailers available in all versions | Mailers in WP Mail SMTP Pro |
|---|---|
| SendLayer | Amazon SES |
| SMTP.com | Microsoft 365 / Outlook.com |
| Brevo | Zoho Mail |
| Google Workspace / Gmail | |
| Mailgun | |
| Postmark | |
| SendGrid | |
| SparkPost | |
| Other SMTP |
If you want to set up multiple mailers, you can do so in the Additional Connections settings once you’ve finished the Setup Wizard. Then you can select a Backup Connection and configure Smart Routing.
And while you’re at it, you might want to create a custom email domain if you don’t already have one. In business and professional contexts, using a generic from email can look untrustworthy to your recipients.
An email domain that represents your brand helps you build trust and shows that you’re authentic and professional. When you’ve set everything up on your email service website, come back to this guide.
Step 4: Enable Email Logging (Optional)
In the next step, 2 features are enabled by default:
- Improved Email Deliverability
- Email Error Tracking
I recommend that you also enable Detailed Email Logs. This lets you track all the emails your website is sending.
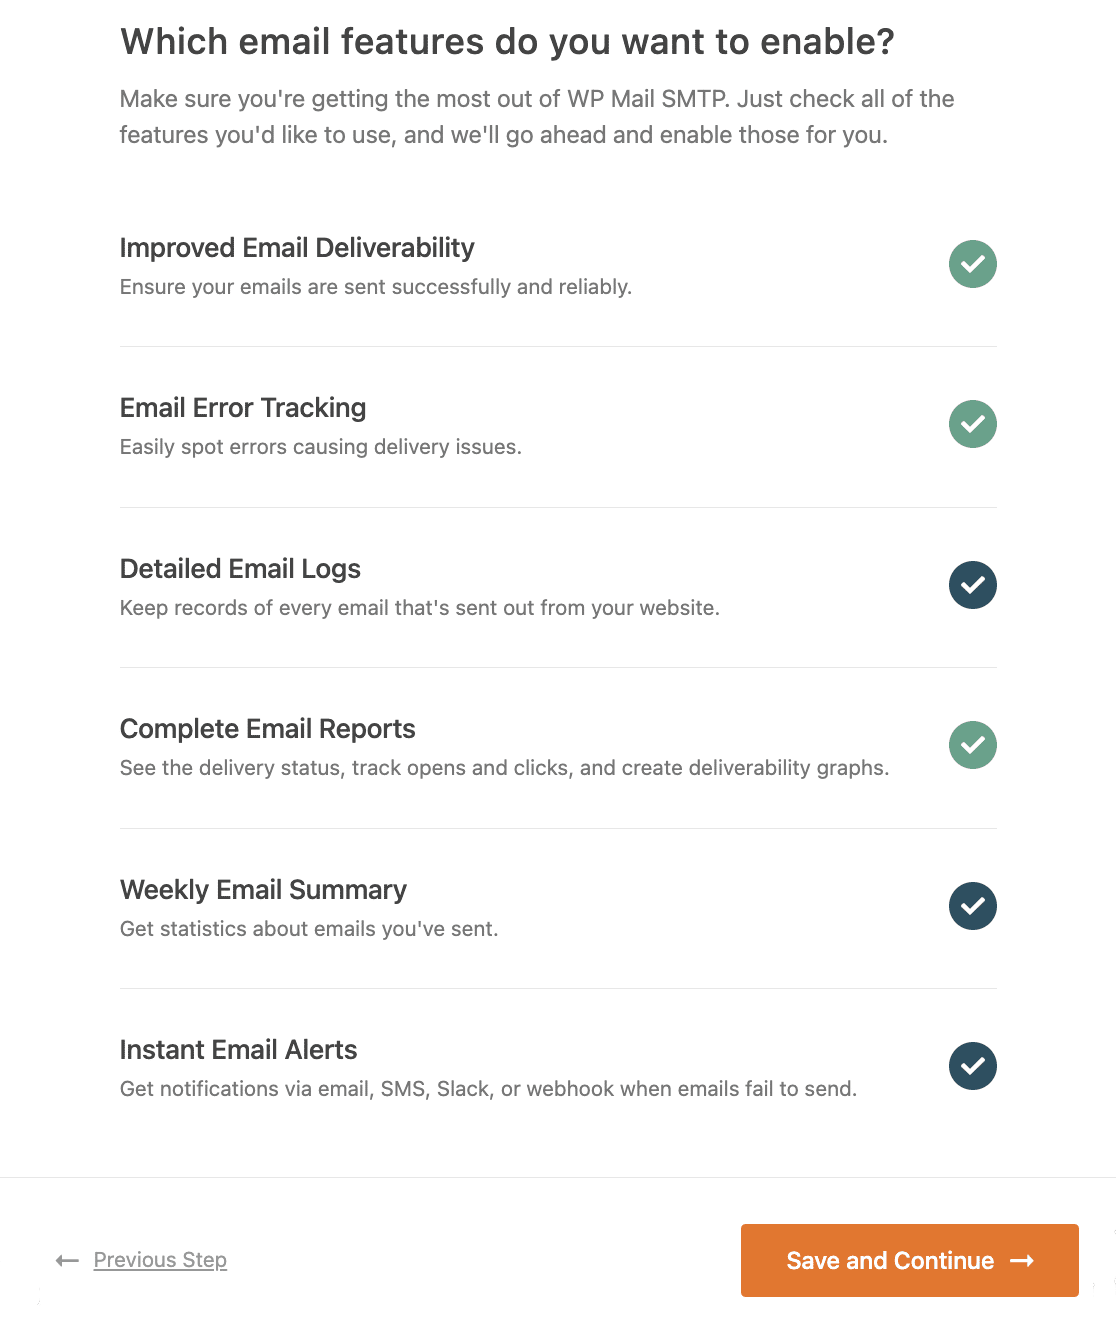
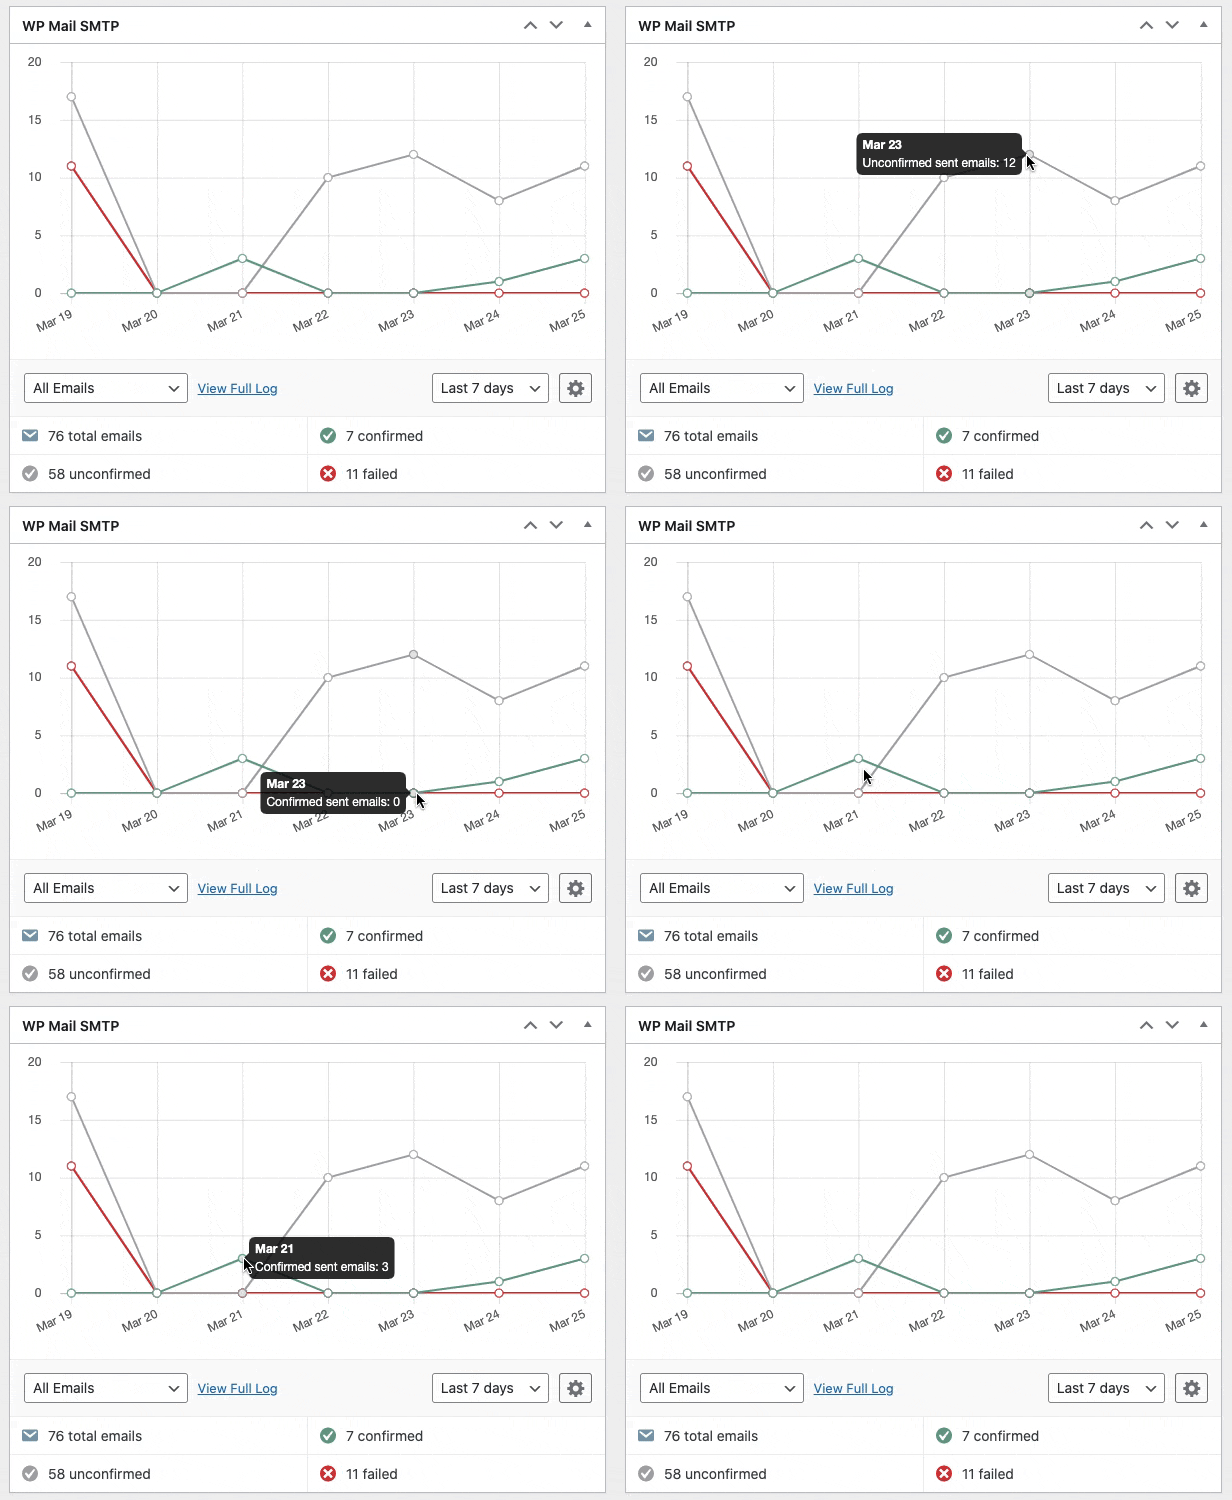
If you’re using WP Mail SMTP Pro, you’ll also find a helpful email log dashboard widget and Complete Email Reports to see your email deliverability statistics.
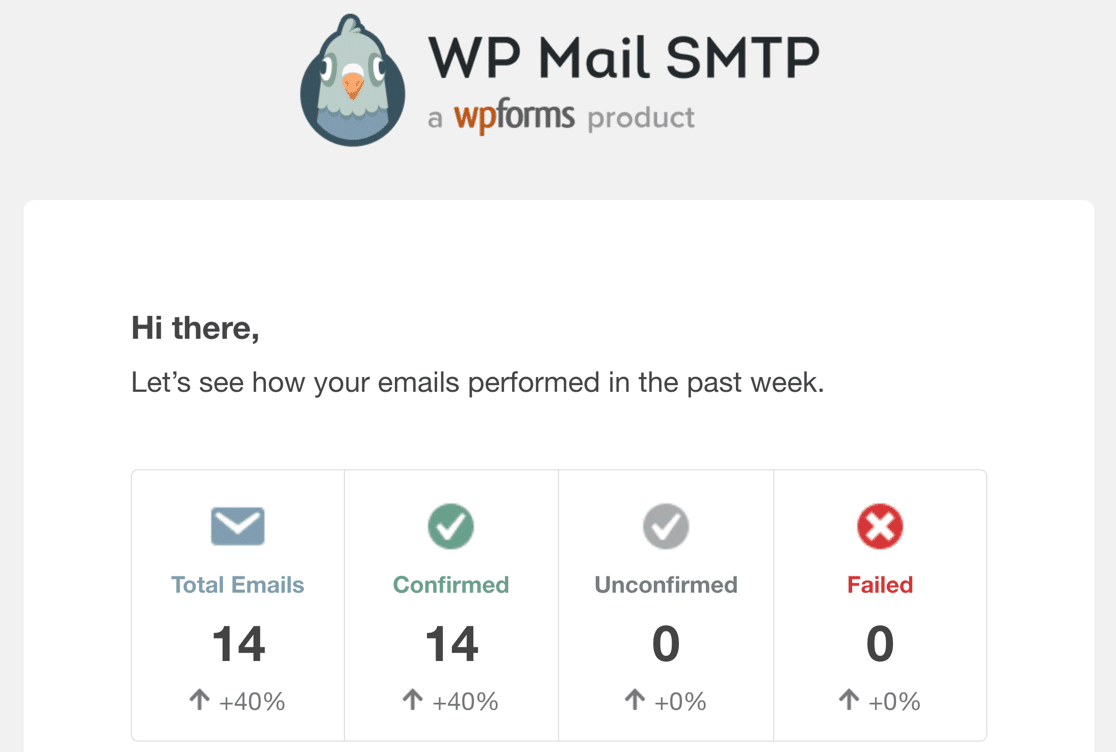
The Weekly Email Summary setting keeps you up to date with your email deliverability statistics, which is handy for monitoring any email failures.
And Instant Email Alerts will let you know the moment your site fails to send an email, so you can dig into the problem right away.
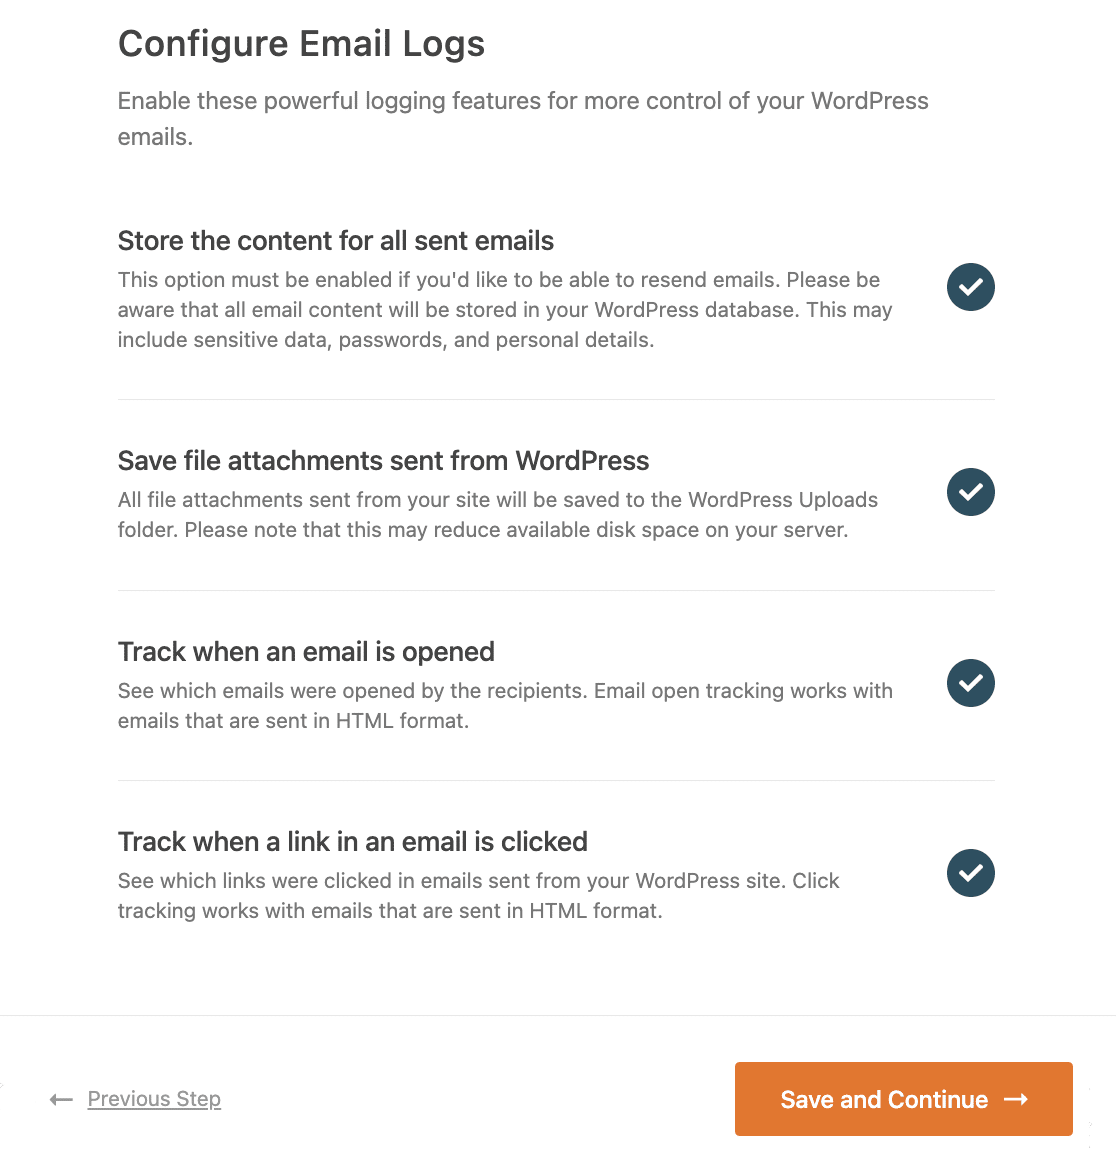
On the next screen, you’ll see more email logging settings you can enable. These advanced options let you save email content and attachments and track email opens and link clicks.
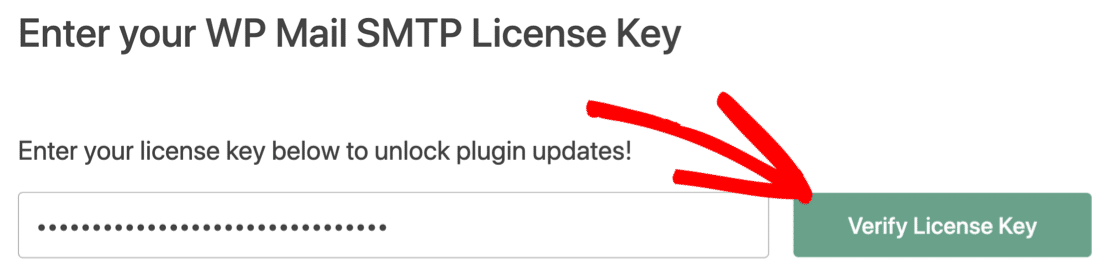
For the last step, go to your WP Mail SMTP account, copy the license key, and paste it into the box. This enables automatic updates to the plugin.
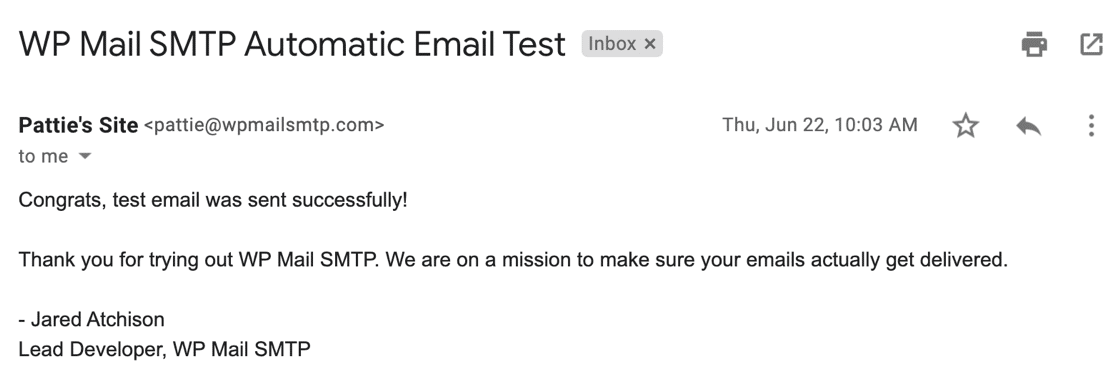
After that, complete the Setup Wizard and you’ll get an automatic test email to confirm that everything’s working.
Your Divi form should now be working. Let’s take a look at a way to test it.
Step 5: Send a Test Email From WP Mail SMTP
After you’ve received your automatic test email, your plugin should be all set and your WordPress site should be sending emails reliably.
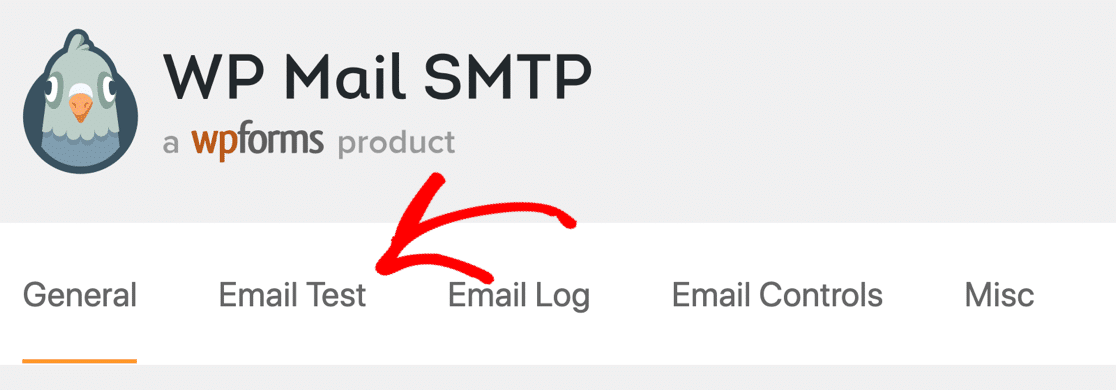
You can also send a test email on demand whenever you need to. To do that, go to the Email Test tab on your WP Mail SMTP settings page.
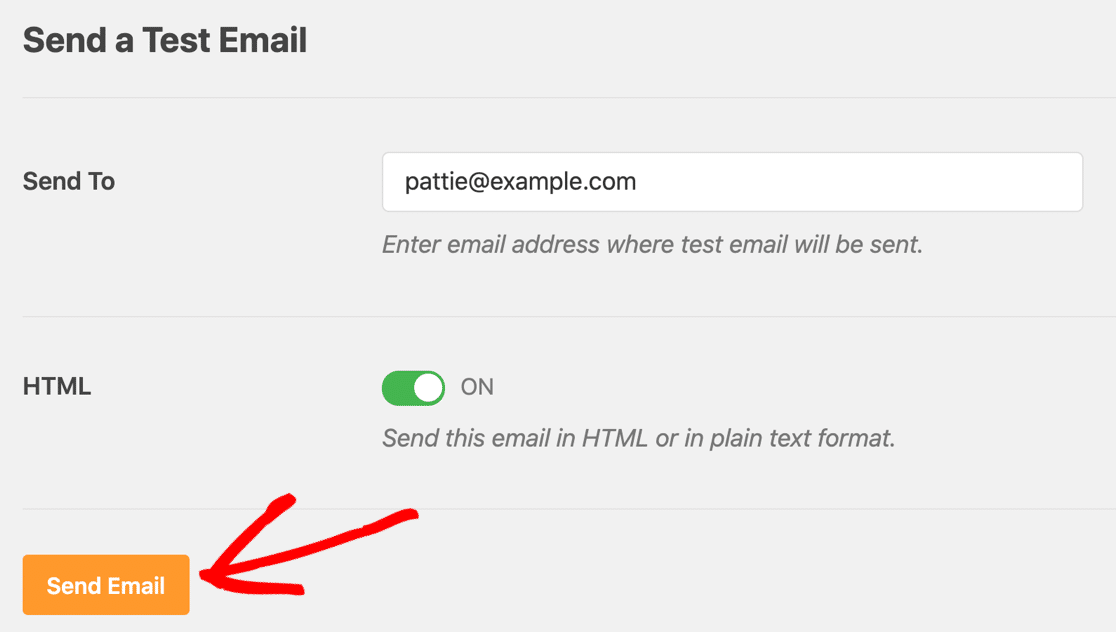
Now, enter an email address in the box and send the test email. Behind the scenes, WP Mail SMTP runs its Domain Checker to scan your DNS zone.
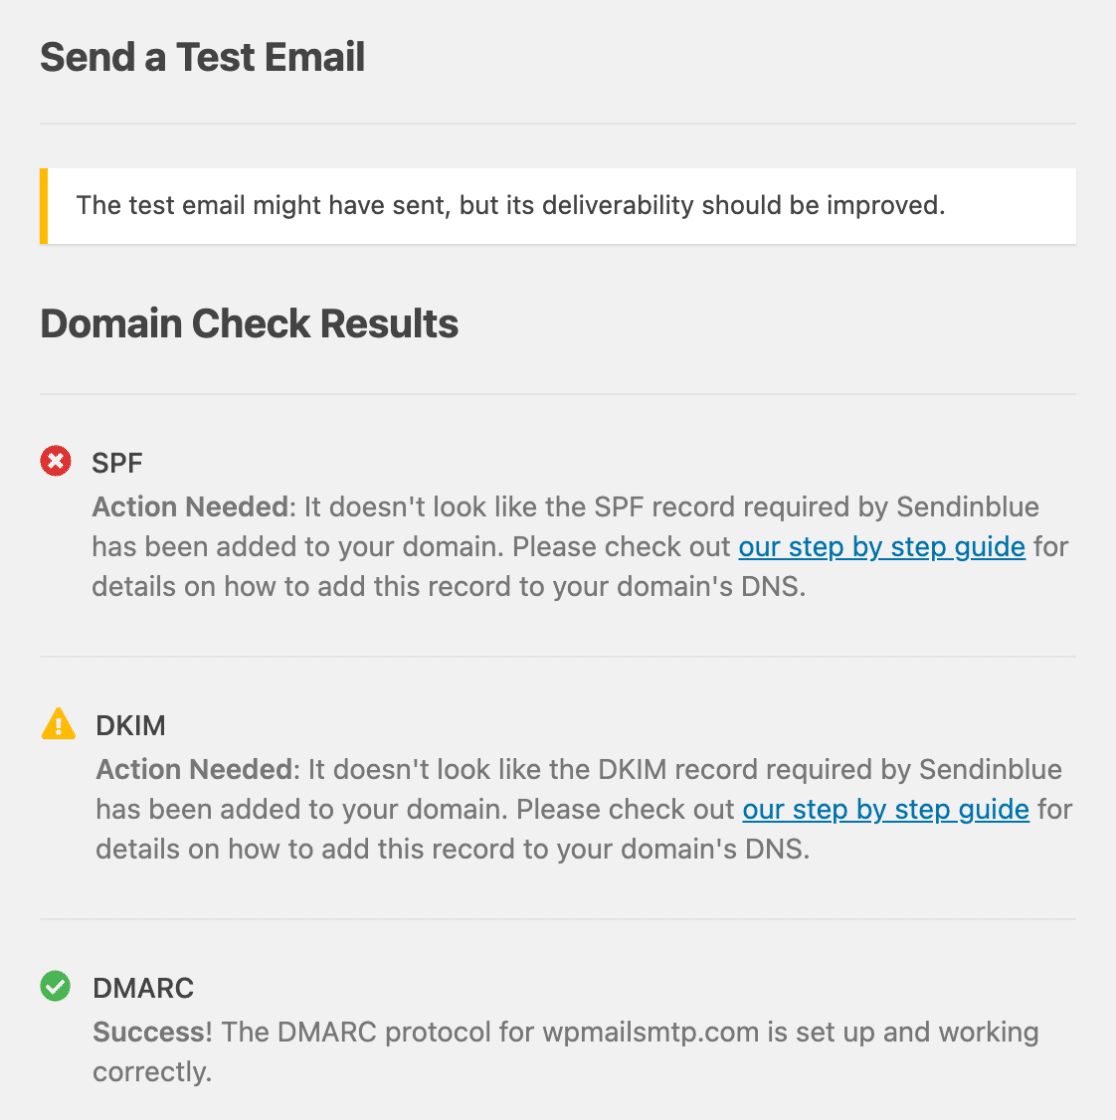
If you see a message with a green label, it means emails from your Divi form are being sent with the right authentication, so everything should be good to go.
However, if it’s showing a red label, there’s a problem with your settings. The plugin will explain the problem and tell you what to check.
After fixing your Divi emails, you may occasionally run into a problem with your SMTP settings. For example, if your chosen SMTP server is down, you may notice an email fails. Let’s look at a way to resend those emails.
Step 6: Resend Failed Divi Emails
You can resend failed emails easily from the WP Mail SMTP email log. To do this, you’ll need to have turned on the Store the content for all sent emails option in the Setup Wizard.
If you didn’t, you can turn the setting on by going to WP Mail SMTP » Settings » Email Log. To resend an email, go to WP Mail SMTP » Email Log from your WordPress dashboard.
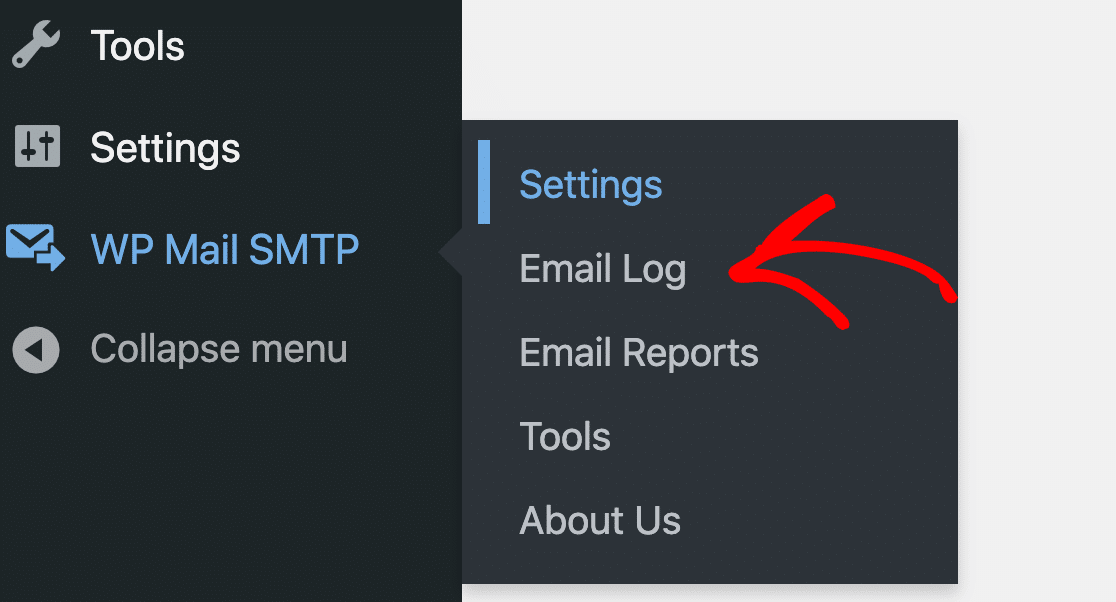
You’ll see a list of all emails sent from your website. Any emails that failed are marked with a red dot. Click the View Log button for the email that failed to deliver.

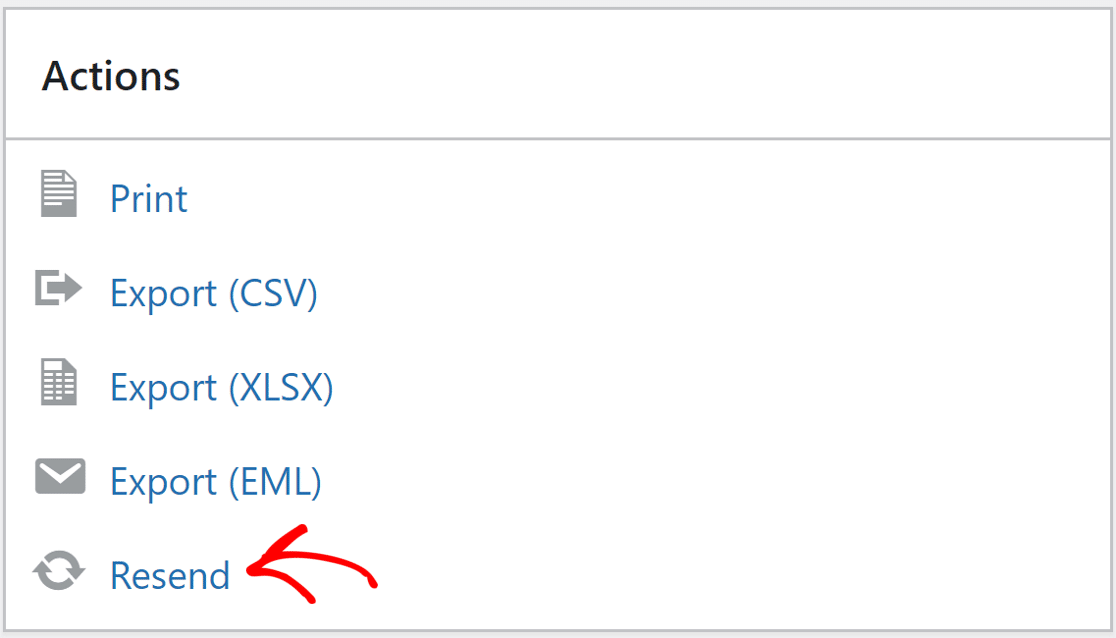
On the right-hand side, you’ll find the Resend button under the Actions tab.
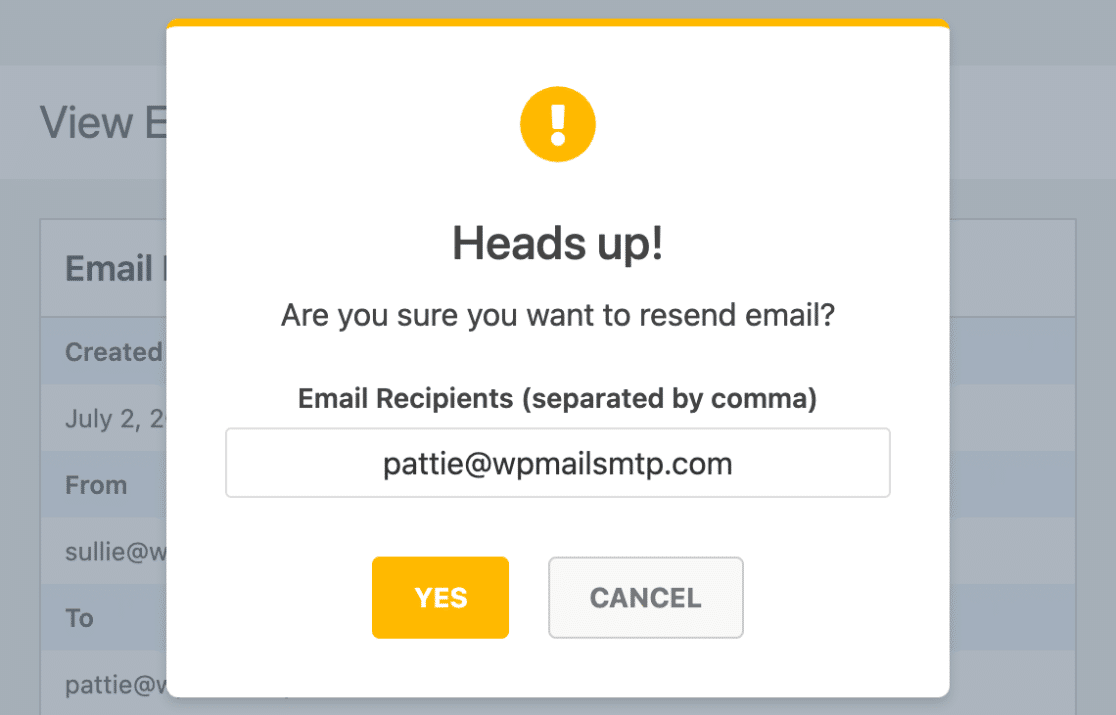
Edit the email address if you need to, then click the YES button to resend the email.
And that’s it! Now you can easily resend any emails that fail if your Divi form isn’t working.
Next, Check Your SPF Records
Email servers often use SPF, DKIM, and DMARC records to authenticate emails. WP Mail SMTP checks your DNS settings and alerts you if it detects any problem.
SPF records are simple TXT records that validate all outgoing emails to prevent domain spoofing. If you need more than 1 SPF record, check out this guide to merge multiple SPF records into one rule.
If you’re a Visual Form Builder user facing email errors, you can see troubleshooting tips at Visual Form Builder email not sending.
Ready to fix your Divi form emails for good? Get started with WP Mail SMTP today.
FAQs on Divi Contact Form Not Sending Email
Here are answers to the questions we most frequently receive about Divi contact forms not sending emails.
Why are my Divi emails still not sending, even after enabling SMTP?
If you’ve enabled SMTP but your Divi contact form emails still aren’t sending, double-check that your SMTP host, port, username, and password are all correct. You may also need to enable TLS or SSL encryption.
What should I do if I’m getting a “failed to send your message” error?
First, verify that you’ve used the right email address, then check the spam filter. You can also try increasing the max submission limit. Finally, you might want to try a different SMTP provider.
Can I log Divi email errors to troubleshoot them later?
Yes. You can log Divi email errors by going into the Divi email settings and enabling debug mode. Errors are then logged in Support » Logs for you to review and troubleshoot as needed.
Can my web host affect Divi form email delivery?
Yes. Your host could be blocking outbound SMTP ports. You can try an alternate SMTP provider like SendLayer, SMTP.com, or Brevo (formerly Sendinblue).
How can I validate email addresses submitted through Divi forms?
To validate email addresses, enable the email validation settings in Divi forms. This checks the form for proper email syntax before submitting it.
