AI Summary
Is LifterLMS not sending email notifications when students perform a certain action?
LifterLMS sends out notifications on actions such as enrolling in a course, completing a course, and many more.
In this article, we’ll show you how to fix the LifterLMS email notifications so that your students never miss an important update.
What Are the Types of Notifications LifterLMS Sends?
LifterLMS is a popular WordPress learning management system plugin. The core plugin is free and you have premium addons that extend the features.
You can use it to create the following types of websites:
- Online Course
- Membership Website
- Internal training portal
Email notifications are an important part of running an online learning management system. LifterLMS has three types of notifications: basic notifications, email notifications, and engagement emails.
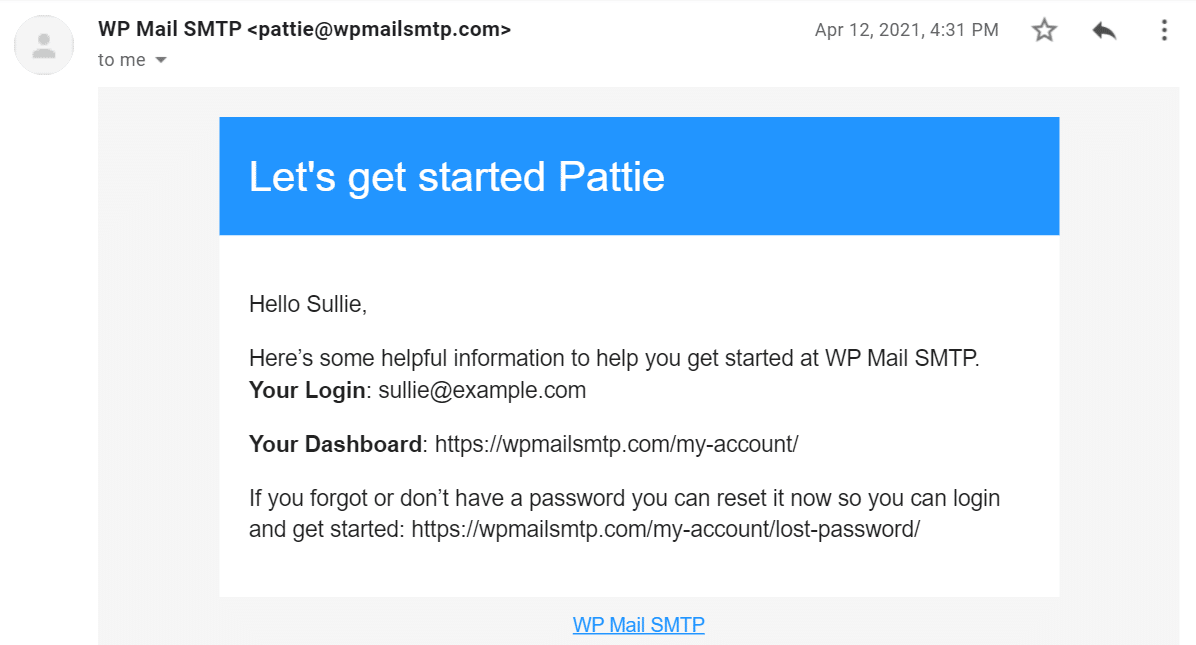
The basic notification is a popup notification on your website and the last two are email notifications. Email notifications are the default notifications like the purchase receipt notification. The engagements, on the other hand, are personalized notifications with specific messages.
How To Fix LifterLMS Not Sending Email Notifications
In This Article
1. Check Notifications Settings in LifterLMS
LifterLMS lets you control all types of notifications in the core plugin. First, we’ll check the settings for email notifications and then proceed to email engagements.
To start, log in to your WordPress dashboard and go to LifterLMS » Settings.
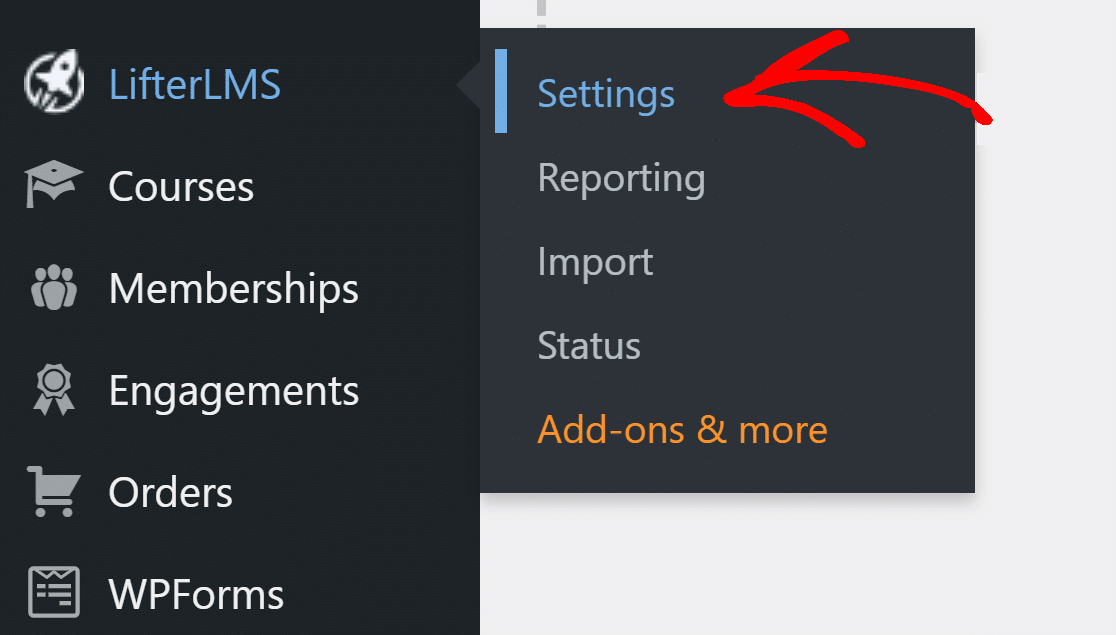
Next, click on the Notifications tab at the top.

Here, you can configure all the basic and email notifications LifterLMS has to offer.
Email Notifications
Click on any email notification to open its settings.
 Scroll down to the Subscribers section and make sure there is a checkmark next to the right recipients.

If you need to send the notification to additional recipients, tick the box for it and enter additional email addresses separated by a comma in the box below.
Go through all the other notifications to make sure everything is correctly set up.
Engagement Emails
These are personalized notifications triggered by specific events. For example, when someone purchases Course A on your website, they get a personalized notification about that class.
To check the settings, we need to do it in two places.
Go to Engagements » Emails and click on any one of the emails to open it.
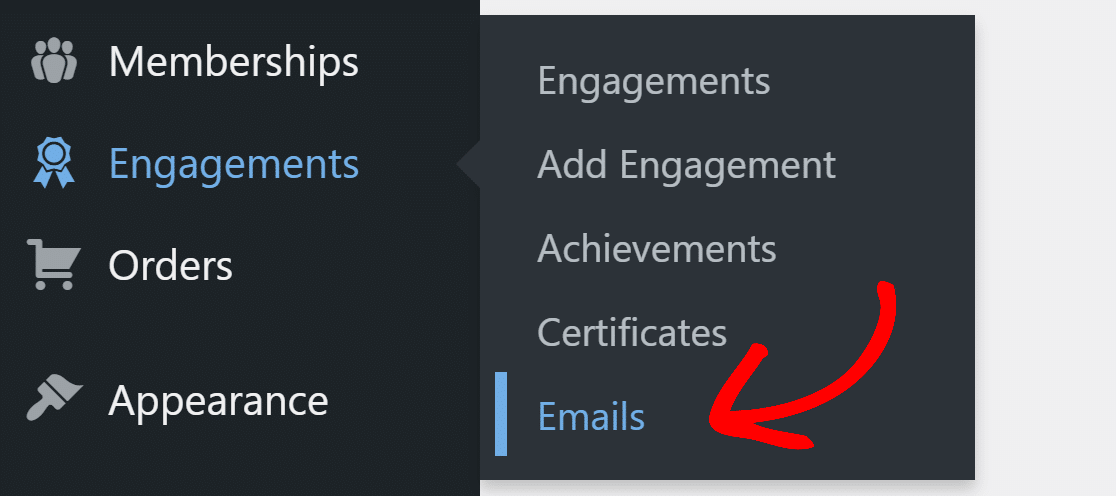
Scroll down to the Email Settings section and check if the Email To field has the right recipients.
If it doesn’t have a shortcode, Click on the Merge Codes button to insert the right shortcode. When you’re done, click on Update to save your email template.
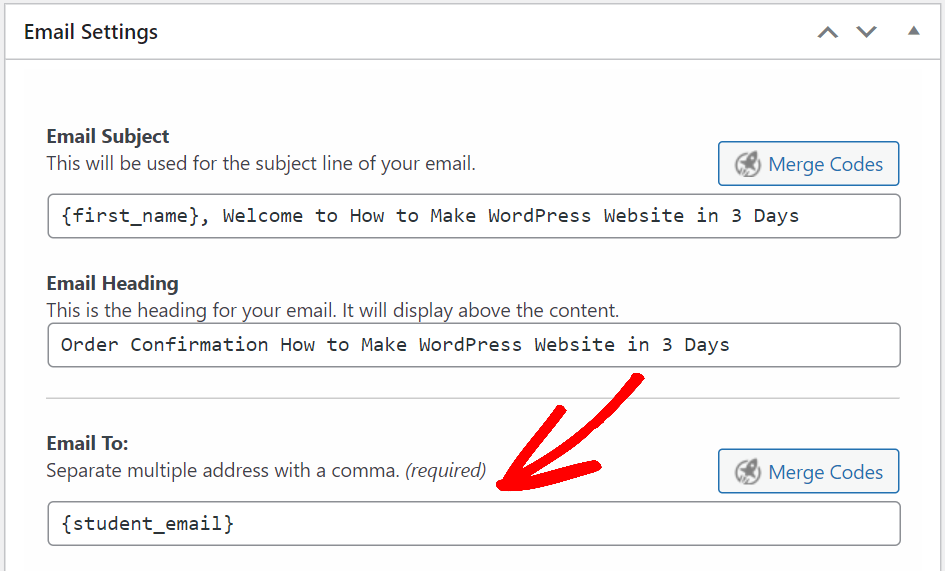
Do this for all the LifterLMS engagement emails you have on the website.
LifterLMS also has Achievement and Certificate engagements which are pretty much similar in setup.
Next, we need to check if the engagements we created have the right settings. From the WordPress navigation menu, click on Engagements » Engagements and open any one of the engagements from the list.
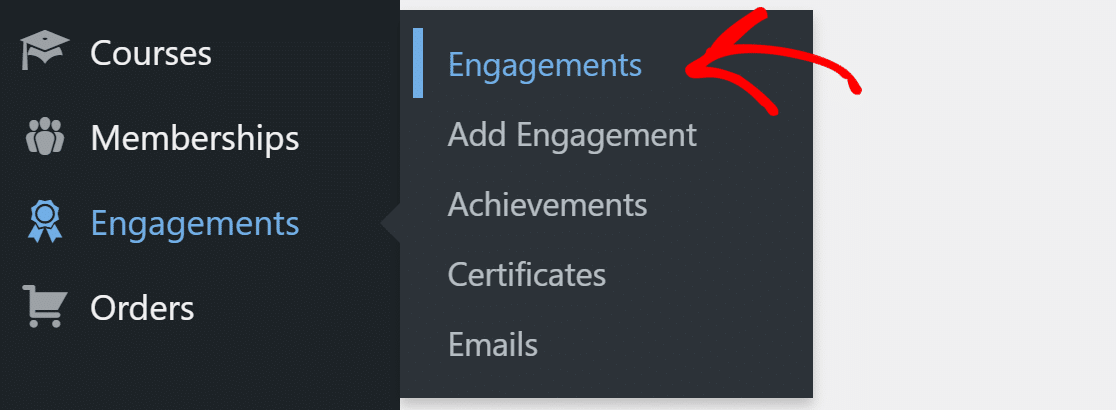
Here, make sure you set the right engagement triggers.
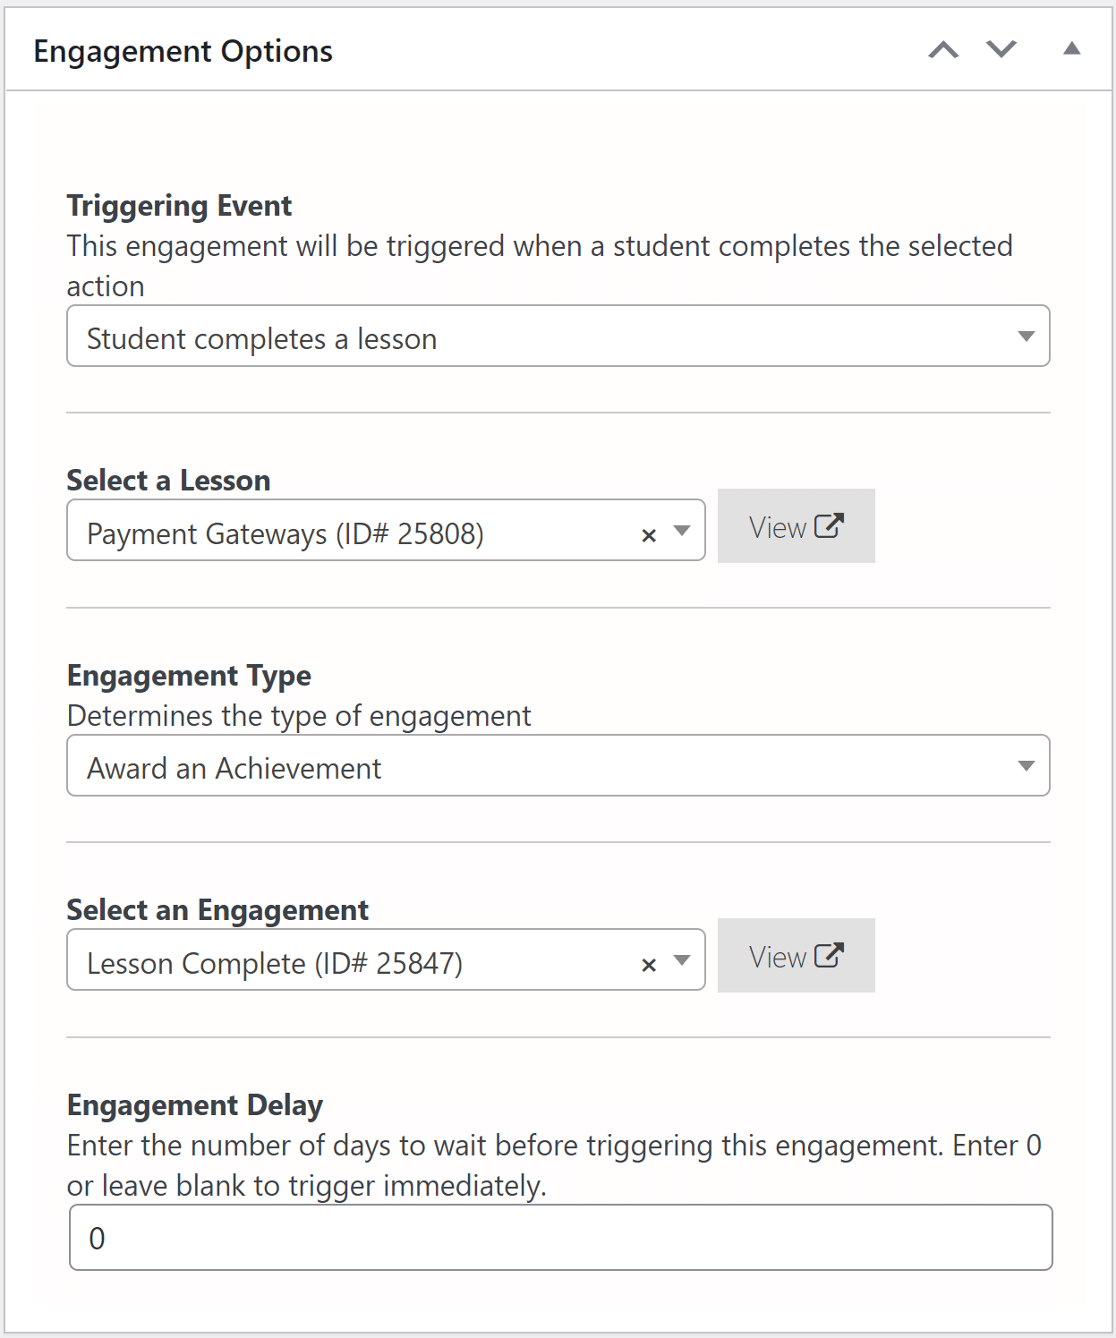
Do this for all the engagements you have on your website.
Now that we have the email notifications set up, let’s install an SMTP plugin to improve email deliverability.
2. Install the WP Mail SMTP Plugin
WP Mail SMTP is the best WordPress SMTP plugin. It improves the deliverability of emails by connecting your website to an external email service. This adds important verification to the messages that prevent them from being filed as spam.
Let’s install the plugin first.
Install WP Mail SMTP
To start, go to the WP Mail SMTP account and under the Downloads tab, grab the latest version of the plugin file.
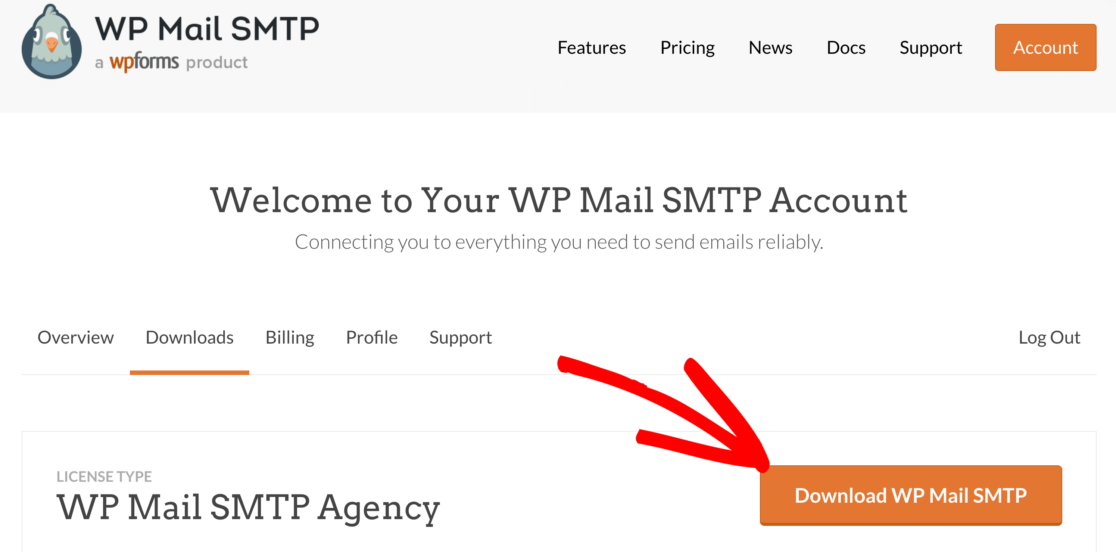
Switch back to the WordPress dashboard and upload the zip file to the plugins page. If you are sure how to, check out this guide on installing a WordPress plugin.

After installing, make sure you activate it. This will open up the Setup Wizard in your browser. The wizard will make it easy to configure the plugin settings.
If you prefer to have someone else set it up for you, White Glove Setup is included with the Elite license.
Choose A Mailer Serice
In this step, we will walk you through the Setup Wizard in WP Mail SMTP.
Click on the Let’s Get Started button to begin.

WP Mail SMTP offers you free as well as paid options for the mailer service. What you choose here will depend on the type of website you have. Since you have an LMS website that sends out transactional emails, we recommend SendLayer, SMTP.com, and Brevo (formerly Sendinblue). They are easy to use and offer reliable service.
You can also read our complete guide on email providers and choose the one that works great for your needs.
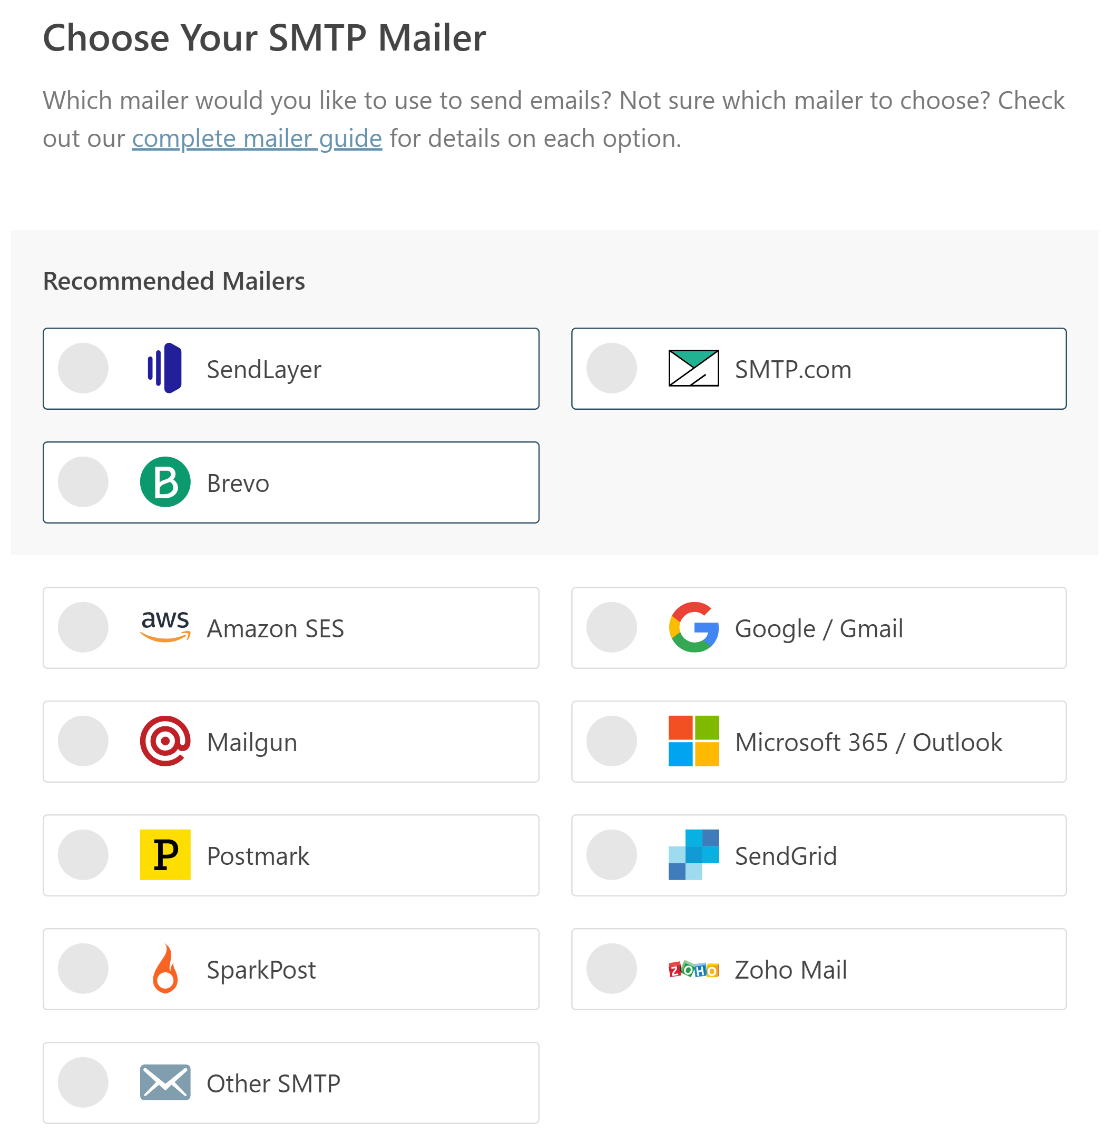
Once you’ve selected the mailer service, click on the below documentation link for a detailed guide on how to set up an account on the mailer website.
- SendLayer
- SMTP.com
- Brevo
- Amazon SES
- Google Workspace / Gmail
- Mailgun
- Microsoft 365 / Outlook.com
- Postmark
- SendGrid
- SparkPost
- Zoho Mail
- Other SMTP
Want to set up multiple mailers? You can do so in the Additional Connections settings once you’ve finished the Setup Wizard. Then you can select a Backup Connection and configure Smart Routing.
Switch back to this guide after you establish a connection between the mailer service and your site.
Enable Email Logging
For this step, you will have 2 options enabled by default. Improved email deliverability will ensure that your emails are delivered. Email error tracking will notify you if the plugin detects any issue with the emails.
If you want, you can enable the Detailed Email Logs to keep track of all emails that are being sent from your website.
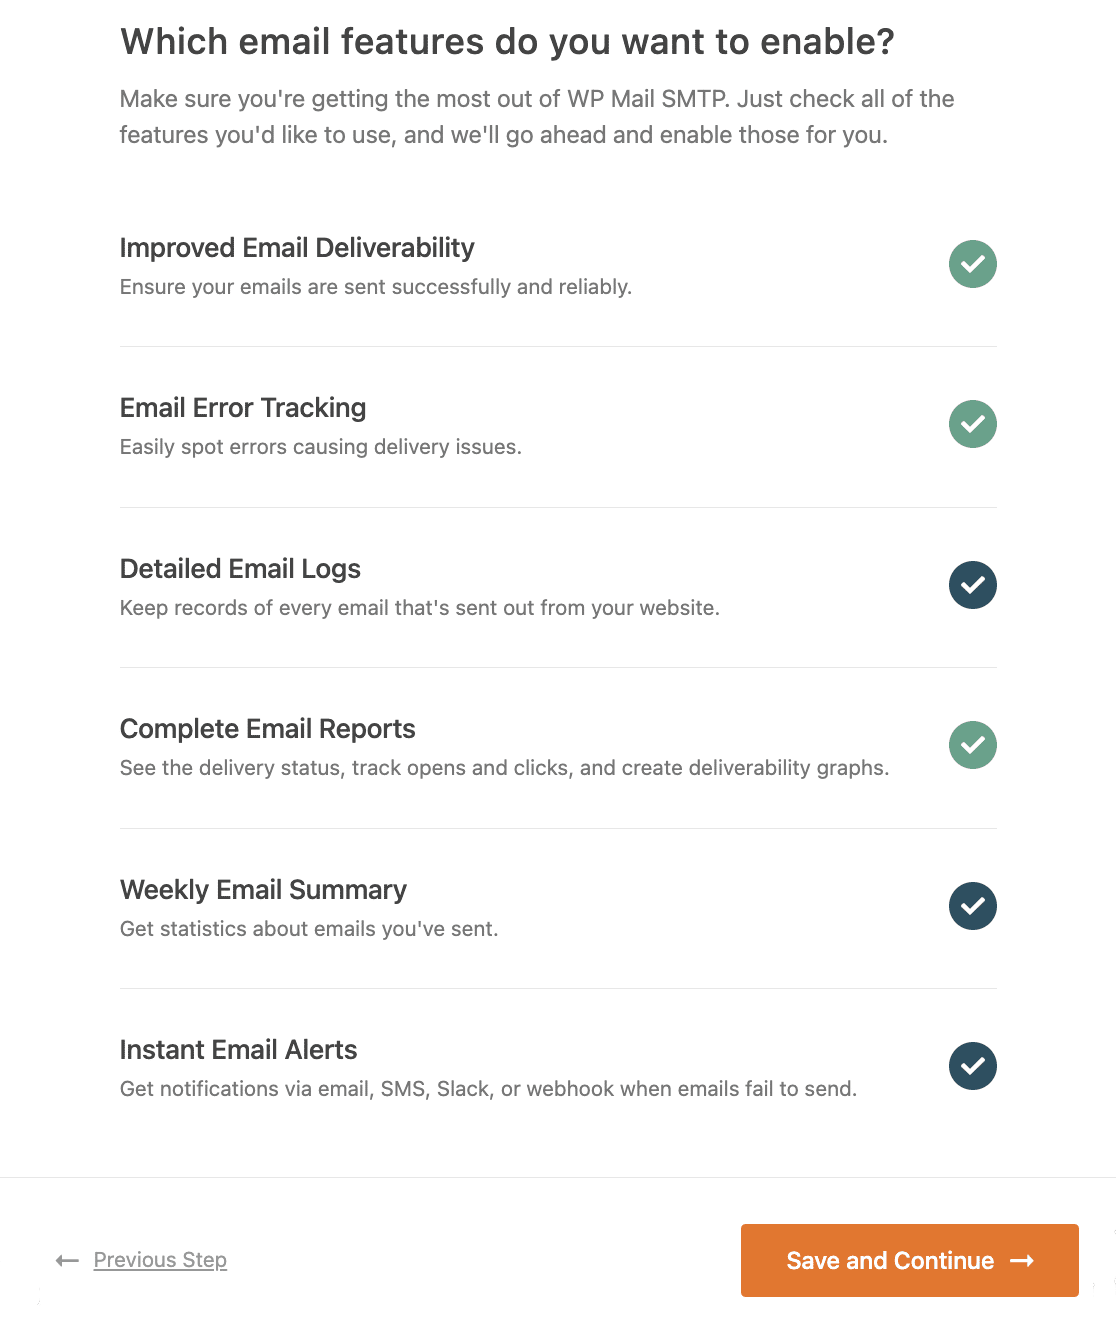
This lets you see your emails’ delivery statuses and other information in Complete Email Reports. You can also get email delivery stats delivered to your inbox in the Weekly Email Summary.
We also recommend turning on Instant Email Alerts. These notifications let you know if your site fails to send an email so that you can troubleshoot the issue.
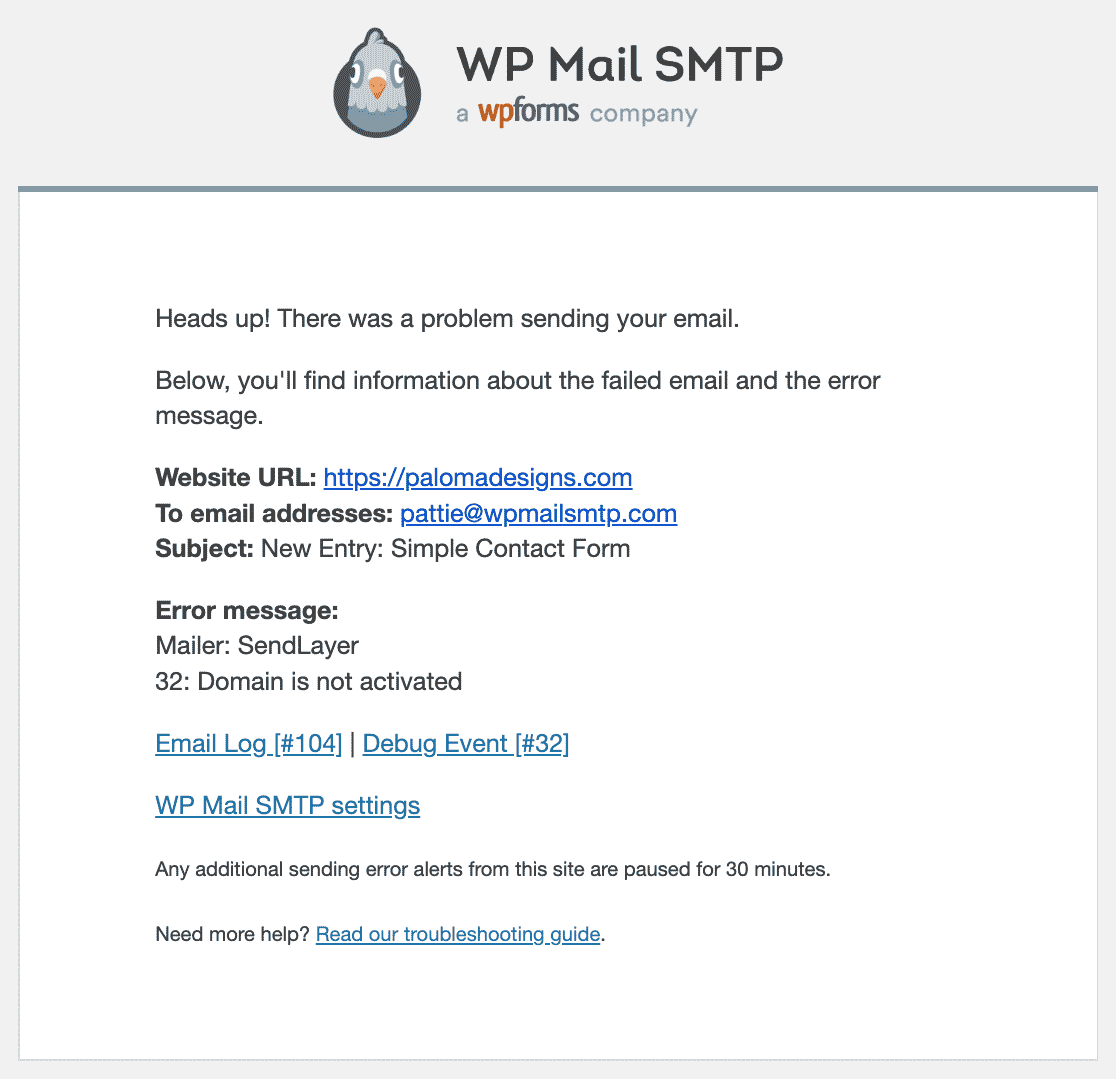
On the next screen, you can configure some more email logging settings.
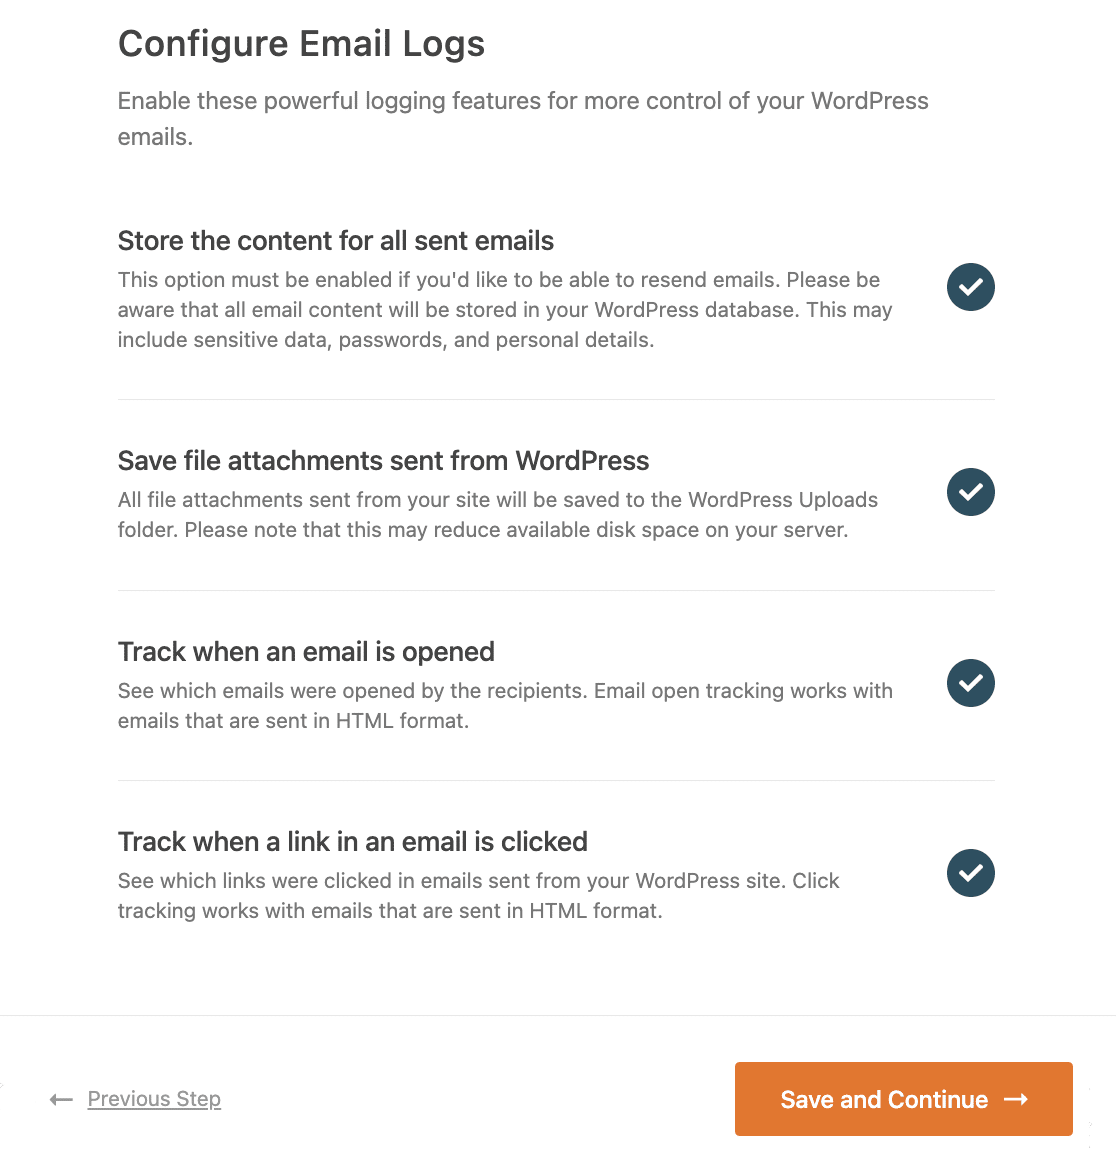
The first option here lets you save the content of all your site’s emails. This will let you resend emails if you need to.
You’ll also be able to track email opens and link clicks, save attachments, print or export your logs, and more.
Check out our guide to WordPress email logging to find out how to work with your email log files.
For the last step, grab the license key from your WP Mail SMTP account and paste it to enable Pro features and future automatic updates.

One last thing. Let’s change the From Email in LifterLMS settings to prevent the “Be careful with this message” warning in Gmail.
3. Change From Email in LifterLMS
Your emails might still be marked as spam if they are sent from the default WordPress email address ([email protected]).
LifterLMS lets you change the default settings and use a real email address instead.
Go to LifterLMS » Settings and click on the Engagement tab.

In the Email Settings tab, type in the sender name to be displayed in the From field. Similarly, in the Sender Email field, type in the real email address you have access to. It is recommended to use an email address that matches your domain name.
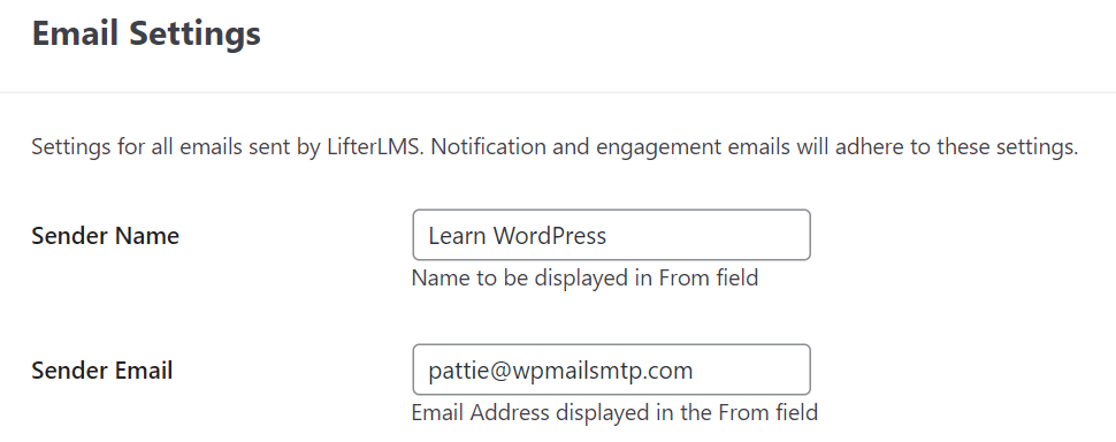
For example, we use [email protected] for our website.
Click on the button at the top to save changes.
That’s it! You’ve learned to fix the LifterLMS not sending email notifications issue.
Next, Check Your SPF Records
Email servers often use SPF, DKIM, and DMARC records to authenticate emails. WP Mail SMTP will check your DNS settings and alert you if it detects any problem.
SPF records are simple TXT records that validate all outgoing emails to prevent domain spoofing. If you need to have more than 1 SPF record, check out this guide to merge multiple SPF records into one rule.
You might also be interested in learning how to get email open notifications on Slack. And here’s how to send a test email from WordPress.
Ready to fix your emails? Get started today with the best WordPress SMTP plugin. If you don’t have the time to fix your emails, you can get full White Glove Setup assistance as an extra purchase, and there’s a 14-day money-back guarantee for all paid plans.If this article helped you out, please follow us on Facebook and Twitter for more WordPress tips and tutorials.

