Is your Essential Addons for Elementor form not working?
Emails from a contact form are super important, so it’s frustrating when your form doesn’t seem to be sending emails.
In this guide, we’ll show you how to easily fix the issue with WP Mail SMTP.
What Is Essential Addons for Elementor?
Essential Addons for Elementor is one of the most popular 3rd party addons for Elementor.
It extends the functionality of Elementor by providing extra features and widgets, like:
- Protected content – show content to authorized users only
- Image hotspots – add tooltips to an image
- Particle effect – add a background effect that moves with the mouse
- Reading progress – shows how long it’ll take to read an article.
The plugin also has its own contact form styler that works with different contact form plugins.
This allows you to style your contact forms using the Elementor editor.
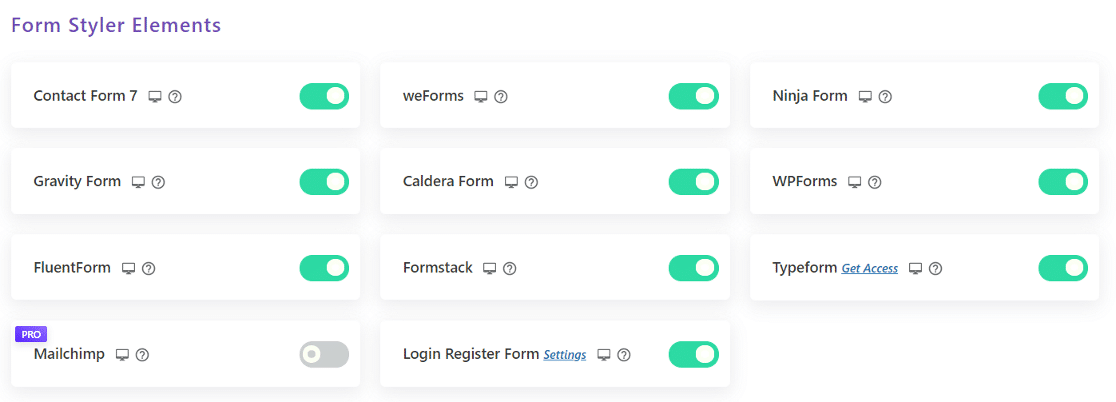
We’re going to explain how to fix your emails if your form doesn’t seem to be working.
How To Fix Essential Addons for Elementor Form Not Working
In This Article
1. Check Contact Form Settings
To start, you’ll want to figure out which contact form plugin you have.
You can take a look at your Installed Plugins to see which ones are activated on your site.

We have guides for most of the popular contact form plugins for WordPress. Click on the name of your plugin, and you’ll see a tutorial that explains how it’s set up:
We recommend using WPForms to add forms to Elementor for free.
After reviewing your notification settings, keep reading. We also need to add an SMTP plugin to handle the emails coming from your contact form.
2. Install the WP Mail SMTP Plugin
WP Mail SMTP is the best SMTP plugin for WordPress. It solves email deliverability problems by connecting your website to a dedicated email provider. This adds authentication to your emails that will stop them from going to spam.
Regardless of which contact form plugin you have, WP Mail SMTP is essential. Let’s install it now and get it set up.
First, go to your WP Mail SMTP account. Click on the Downloads tab and get the latest version of the plugin file.
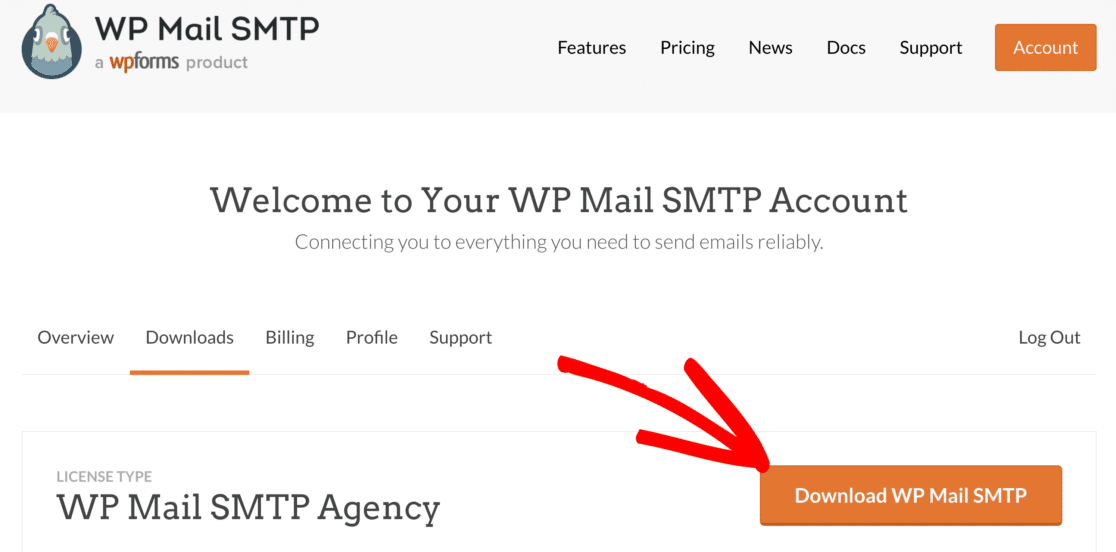
Next, open up your WordPress dashboard and upload the zip file to the plugins page. If you need help with this part, jump over to this guide to installing a WordPress plugin.

After the installation, be sure to activate the plugin. This will start the Setup Wizard in your browser. The wizard will help you configure the plugin in a few easy steps.
Now we’re ready to choose a mailer.
3. Connect Your Website To an Email Provider
In this step, we’ll connect your website to a mailer service that’ll handle your outgoing emails from WordPress.
Click on the Let’s Get Started button to begin.

WP Mail SMTP offers various email provider APIs. You can also use the Other SMTP option if you already have an SMTP server in mind.
Here are a few tips to help you choose an email provider:
- If you have a website that sends transactional emails, you need a provider specifically designed for that. We recommend SendLayer, SMTP.com, or Brevo (formerly Sendinblue).
- If you already have an account with Google Workspace/Gmail, you can use that. Keep in mind that the setup takes a long time, so another option might be a better fit. On the plus side, you can use a Gmail alias to send WordPress emails if you want to.
Go ahead and choose the email provider that you think is the best fit for you.
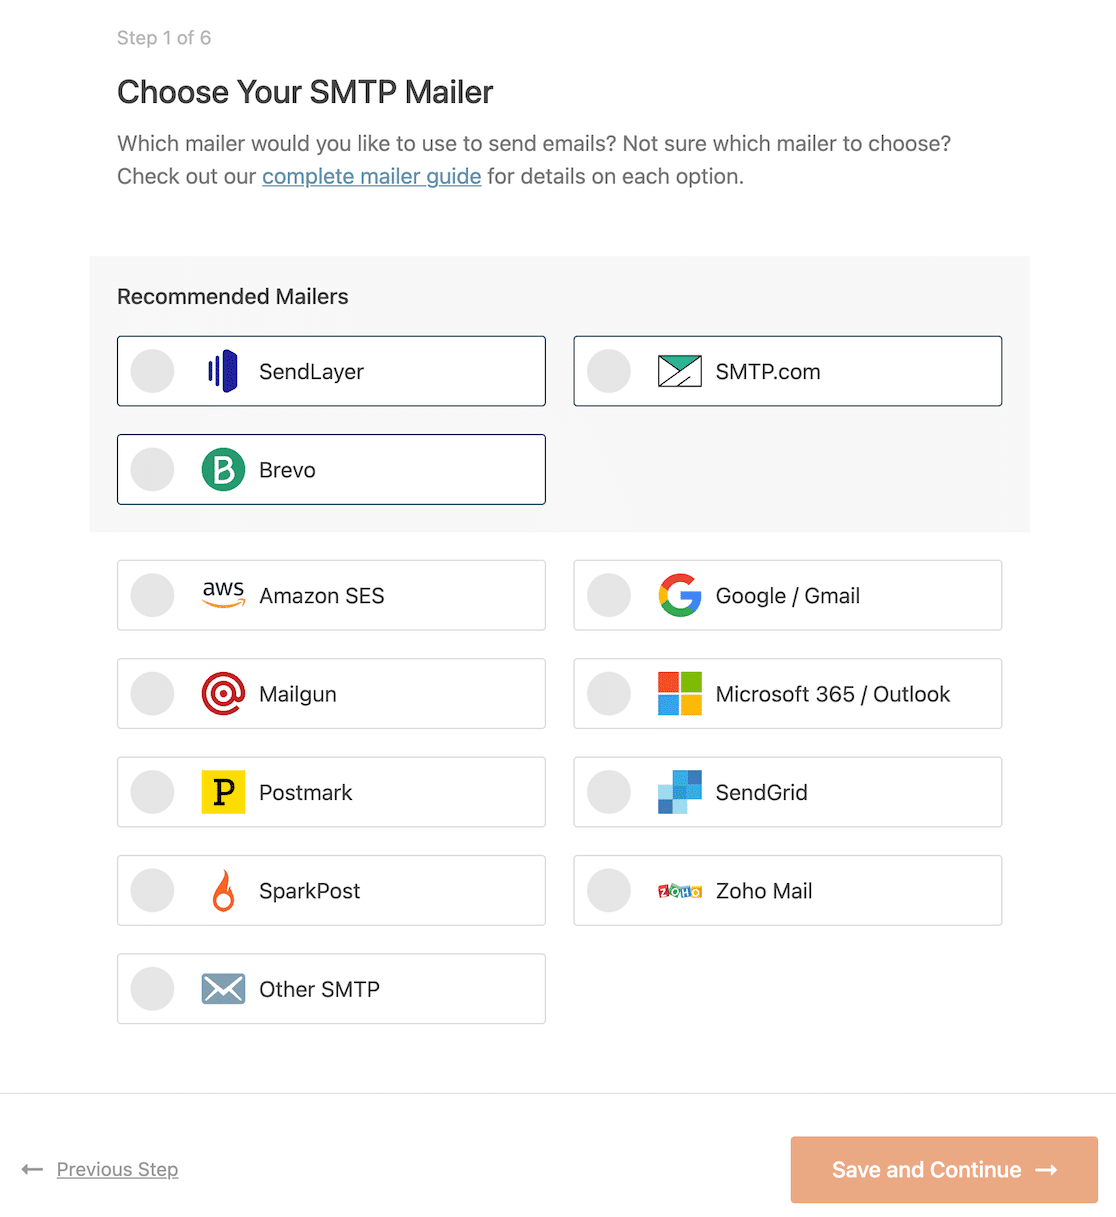
Once you choose a mailer, open the documentation page and go through the steps to set up the service on the mailer website.
| Mailers available in all versions | Mailers in WP Mail SMTP Pro |
|---|---|
| SendLayer | Amazon SES |
| SMTP.com | Microsoft 365 / Outlook.com |
| Brevo | Zoho Mail |
| Google Workspace / Gmail | |
| Mailgun | |
| Postmark | |
| SendGrid | |
| SparkPost | |
| Other SMTP |
When you’ve established a connection between the mailer and your website, switch back to this guide and follow the steps below.
Want to set up multiple mailers? You can do so in the Additional Connections settings, then select a Backup Connection and configure Smart Routing.
4. Enable Email Logging
After you’ve set up your email provider in WP Mail SMTP, you’ll then see some additional features that you can enable: Detailed Email Logs and Instant Email Alerts. We recommend that you turn both of these on.
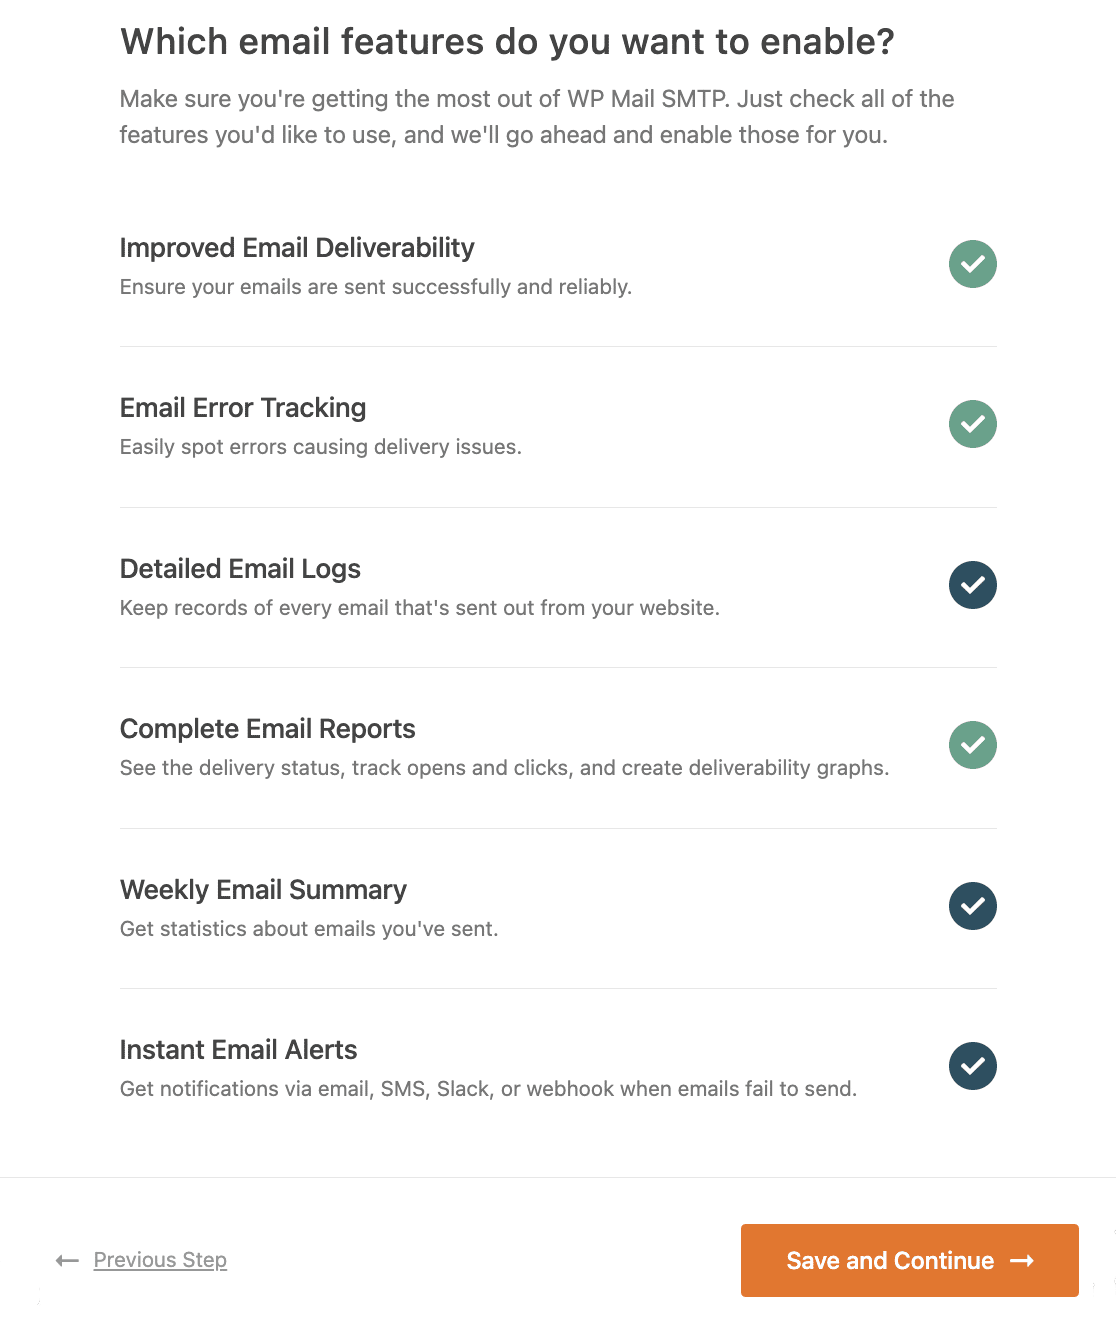
When the email logging feature is turned on, you’ll be able to see the delivery status of each of the emails sent from your site. It also automatically enables Complete Email Reports and gives you the option to receive the Weekly Email Summary.
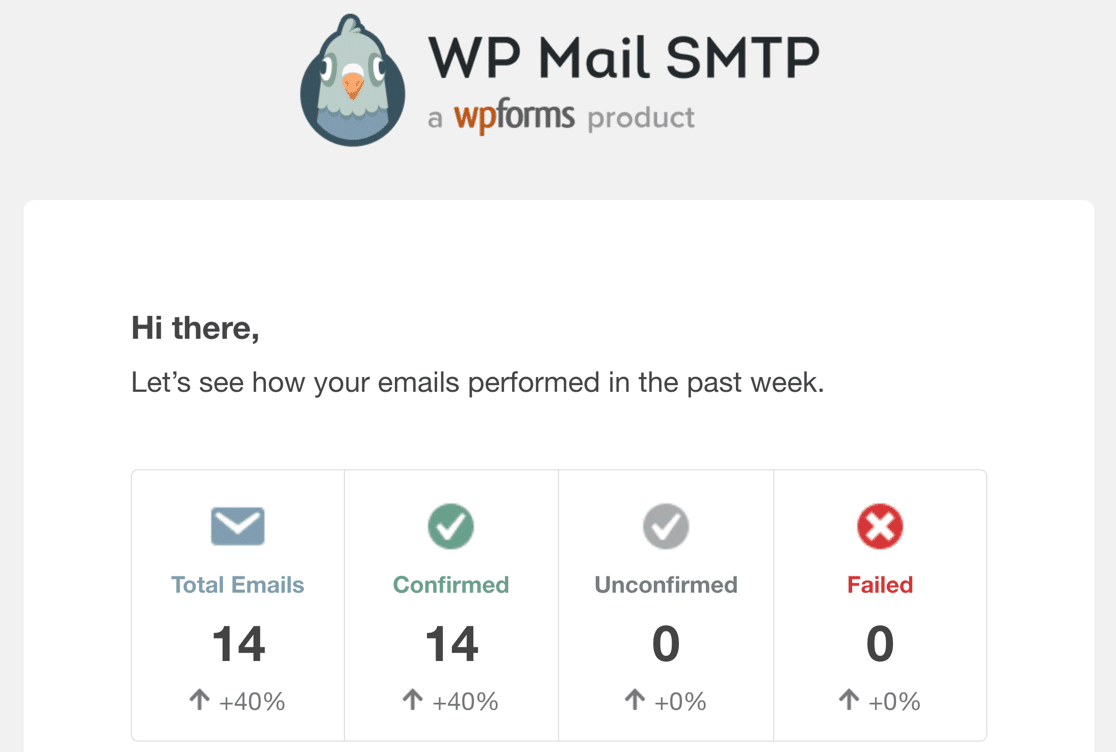
The Weekly Email Summary feature will send you an email once a week with the number of emails you’ve sent and some other key analytics.
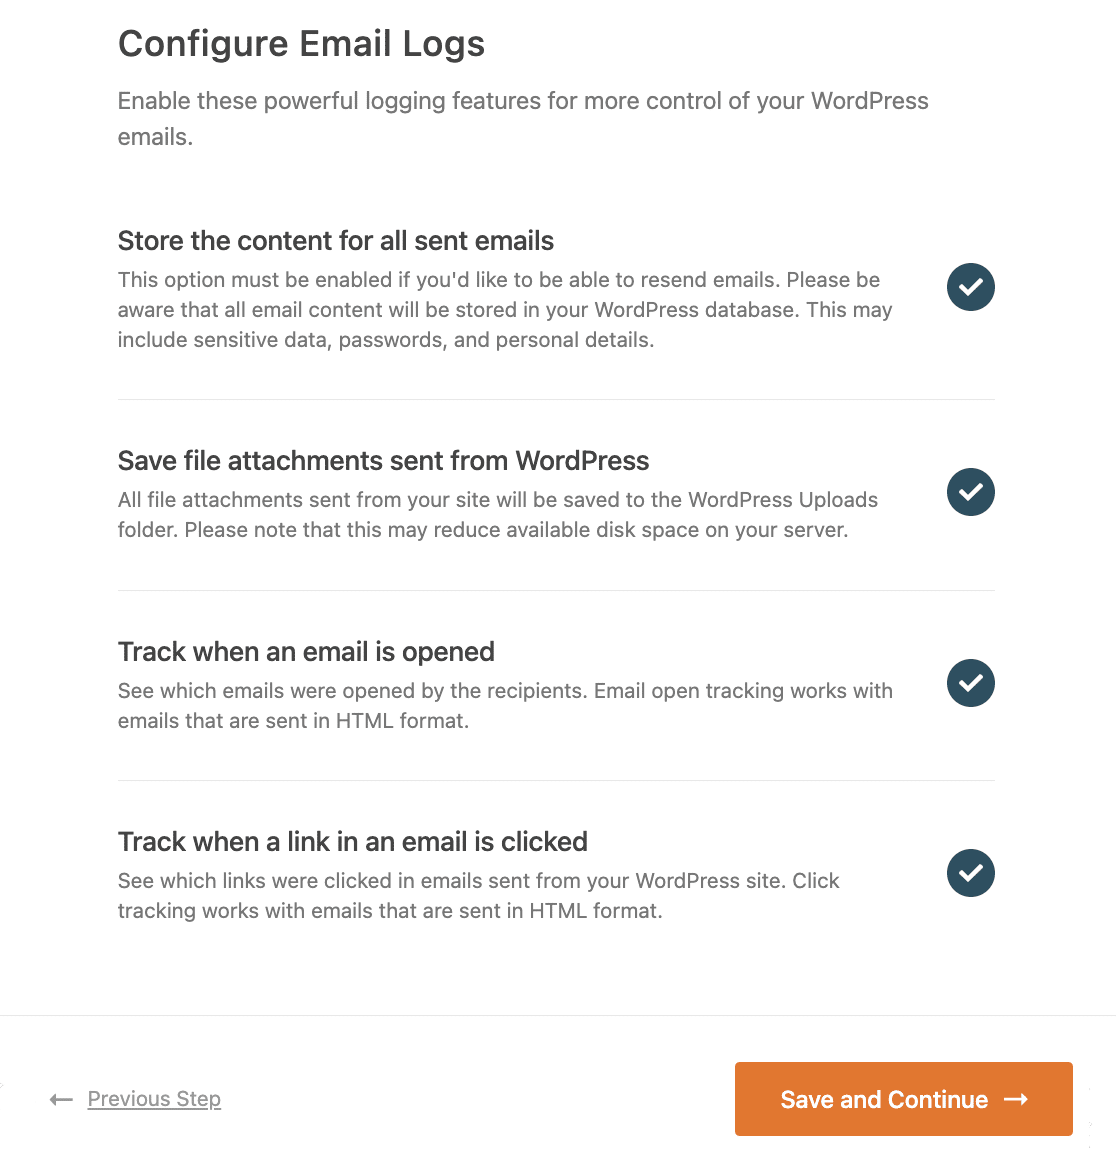
You’ll also have the option to turn on more advanced settings so you can:
- Resend failed emails
- Save attachments
- Export or print logs
- Track email opens and link clicks
- And more.
Check out this article on how to create a WordPress email log for more details about how this feature works.
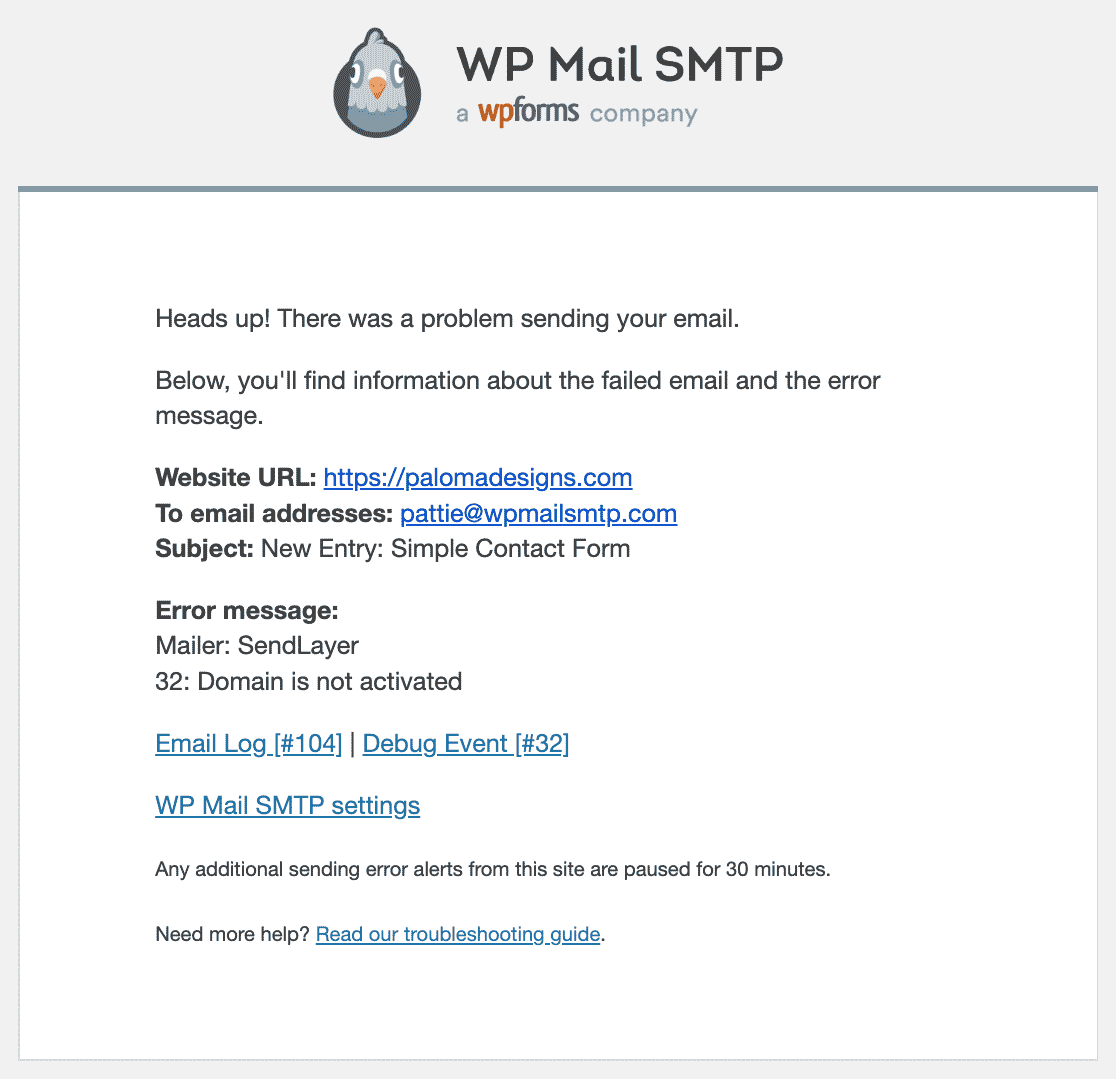
Email alerts notify you when an email fails to send from your site. This is useful because it lets you know there’s a problem so you can fix it quickly.
Finally, there’s one more thing we recommend to improve email deliverability.
5. Force From Email
If you’re using a page builder or a block plugin to display contact forms, it can be quite confusing trying to keep track of the settings for each one.
It’s important that all of your emails are sent from an authenticated address. The easiest way to do this is by using the Force From Email setting. You can configure this in the Setup Wizard.
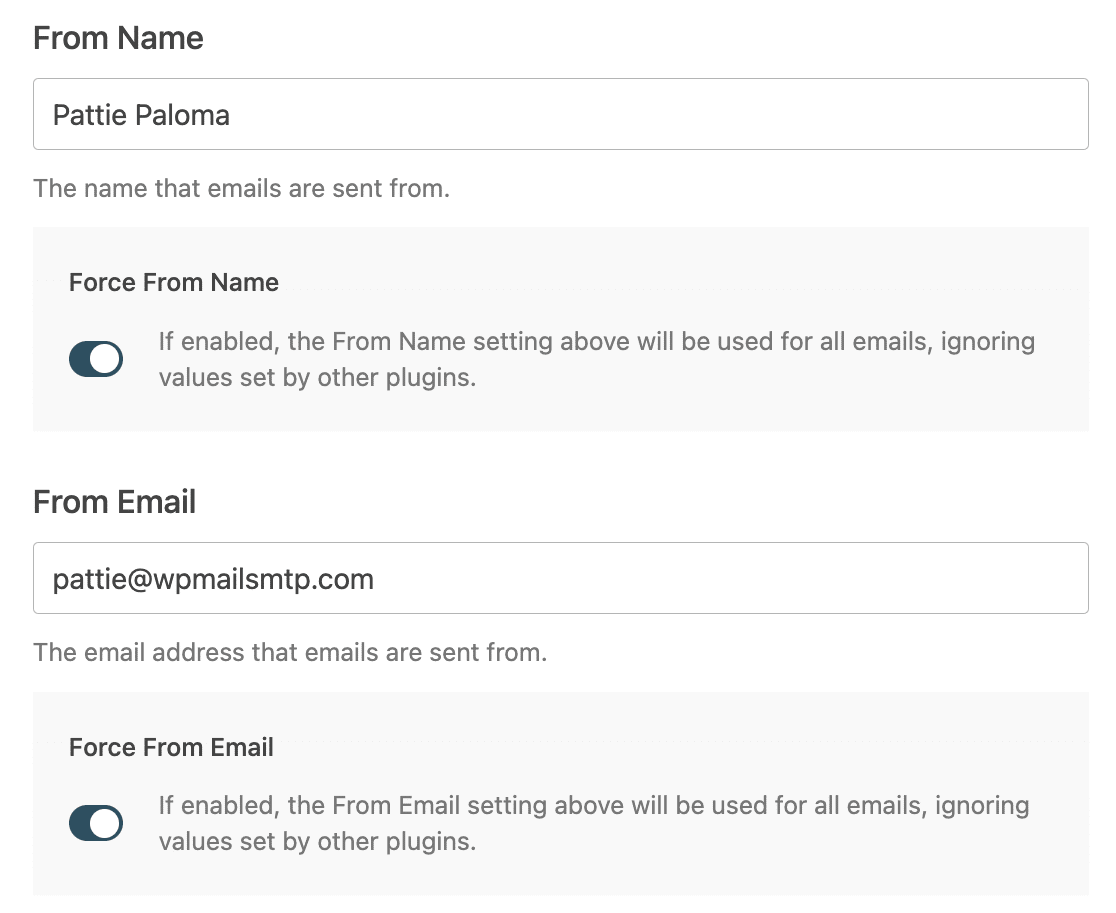
Just enter the name you want all your messages to be from and the email address you’ve authenticated and toggle on the Force From Name and Force From Email options.
If you want to wait and come back to this setting later, you can always adjust it by going to WP Mail SMTP » Settings and looking for the From Name and From Email settings. Then check the boxes next to Force From Name and Force From Email.
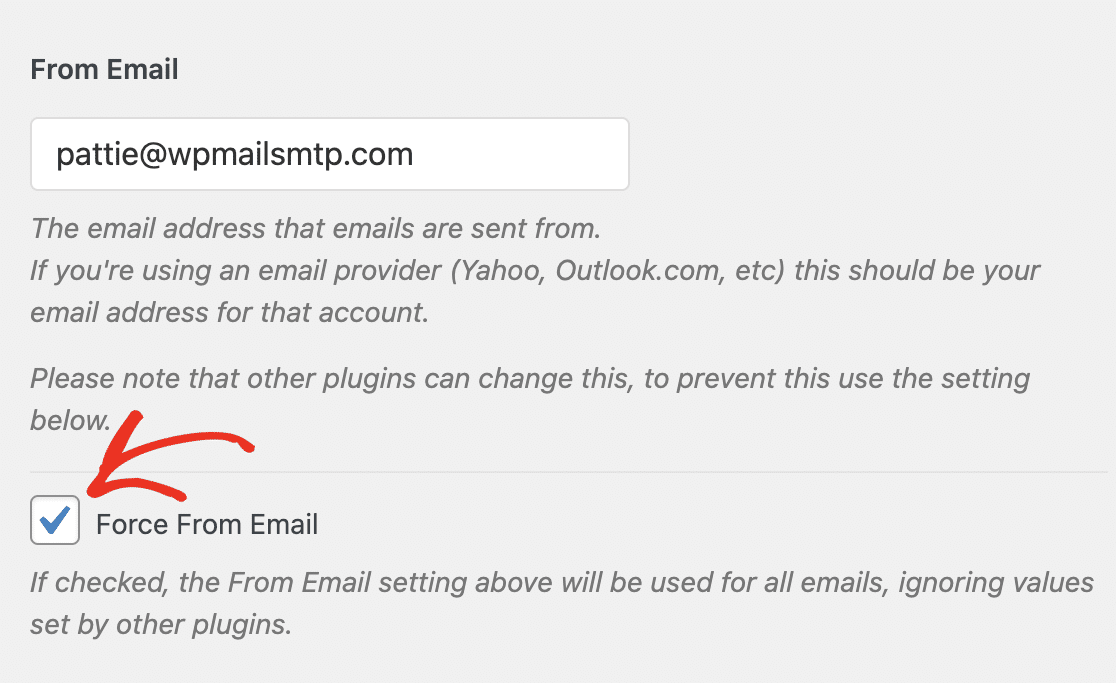
Now emails from all the plugins on your site will use the email address you authenticated in WP Mail SMTP.
Next, Configure Your DMARC Records
Emails from your website might still go to spam if you don’t have the right DNS settings.
To get yours set up, check out our guide on how to add a DMARC record. Once you’re done with this, you might also be interested in learning what to do when Elementor forms don’t send emails.
Ready to fix your emails? Get started today with the best WordPress SMTP plugin. WP Mail SMTP Elite includes full White Glove Setup and offers a 14-day money-back guarantee.
If this article helped you out, please follow us on Facebook and Twitter for more WordPress tips and tutorials.

